|
Russell P. approached us about installing an aftermarket Colerain rifled barrel into one of our smoothbored Baker rifles. The reason our Bakers do not come with a rifled barrel is because the manufacturer who makes them for us in India is not allowed to make a rifled barrel under insane Indian gun laws. Of course, to be correct, it should have a rifled barrel, so Russell P jumped in with both feet and sent us a Colerain rifled .62 caliber barrel to retrofit into the gun he had ordered.
Since I get questions about rifled barrels for the Baker on a regular basis, what I've done here is to document the process so you can see what is involved in doing this conversion. The conversion can be done with basic shop tools provided you can solder or braze the small parts to the new barrel and source or fabricate a new breechplug for it.
The big hitch is that the Colerain barrel is shorter than the factory barrel, so that means you either have to fabricate a thicker breechplug or cut back the stock but an inch which means relocating some stuff that I'd rather not mess with. Since we have a lathe here, over the years we have come to the conclusion that the better way to do this is to make a new breechplug instead of reworking the front end of the gunstock.
Starting immediately below, I have described the steps involved in this project along with photos. Click on the photos to see a larger version and use your browser's back button to return here.
| |
|
|
|
|
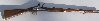
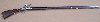
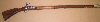
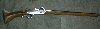
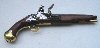
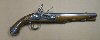
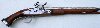
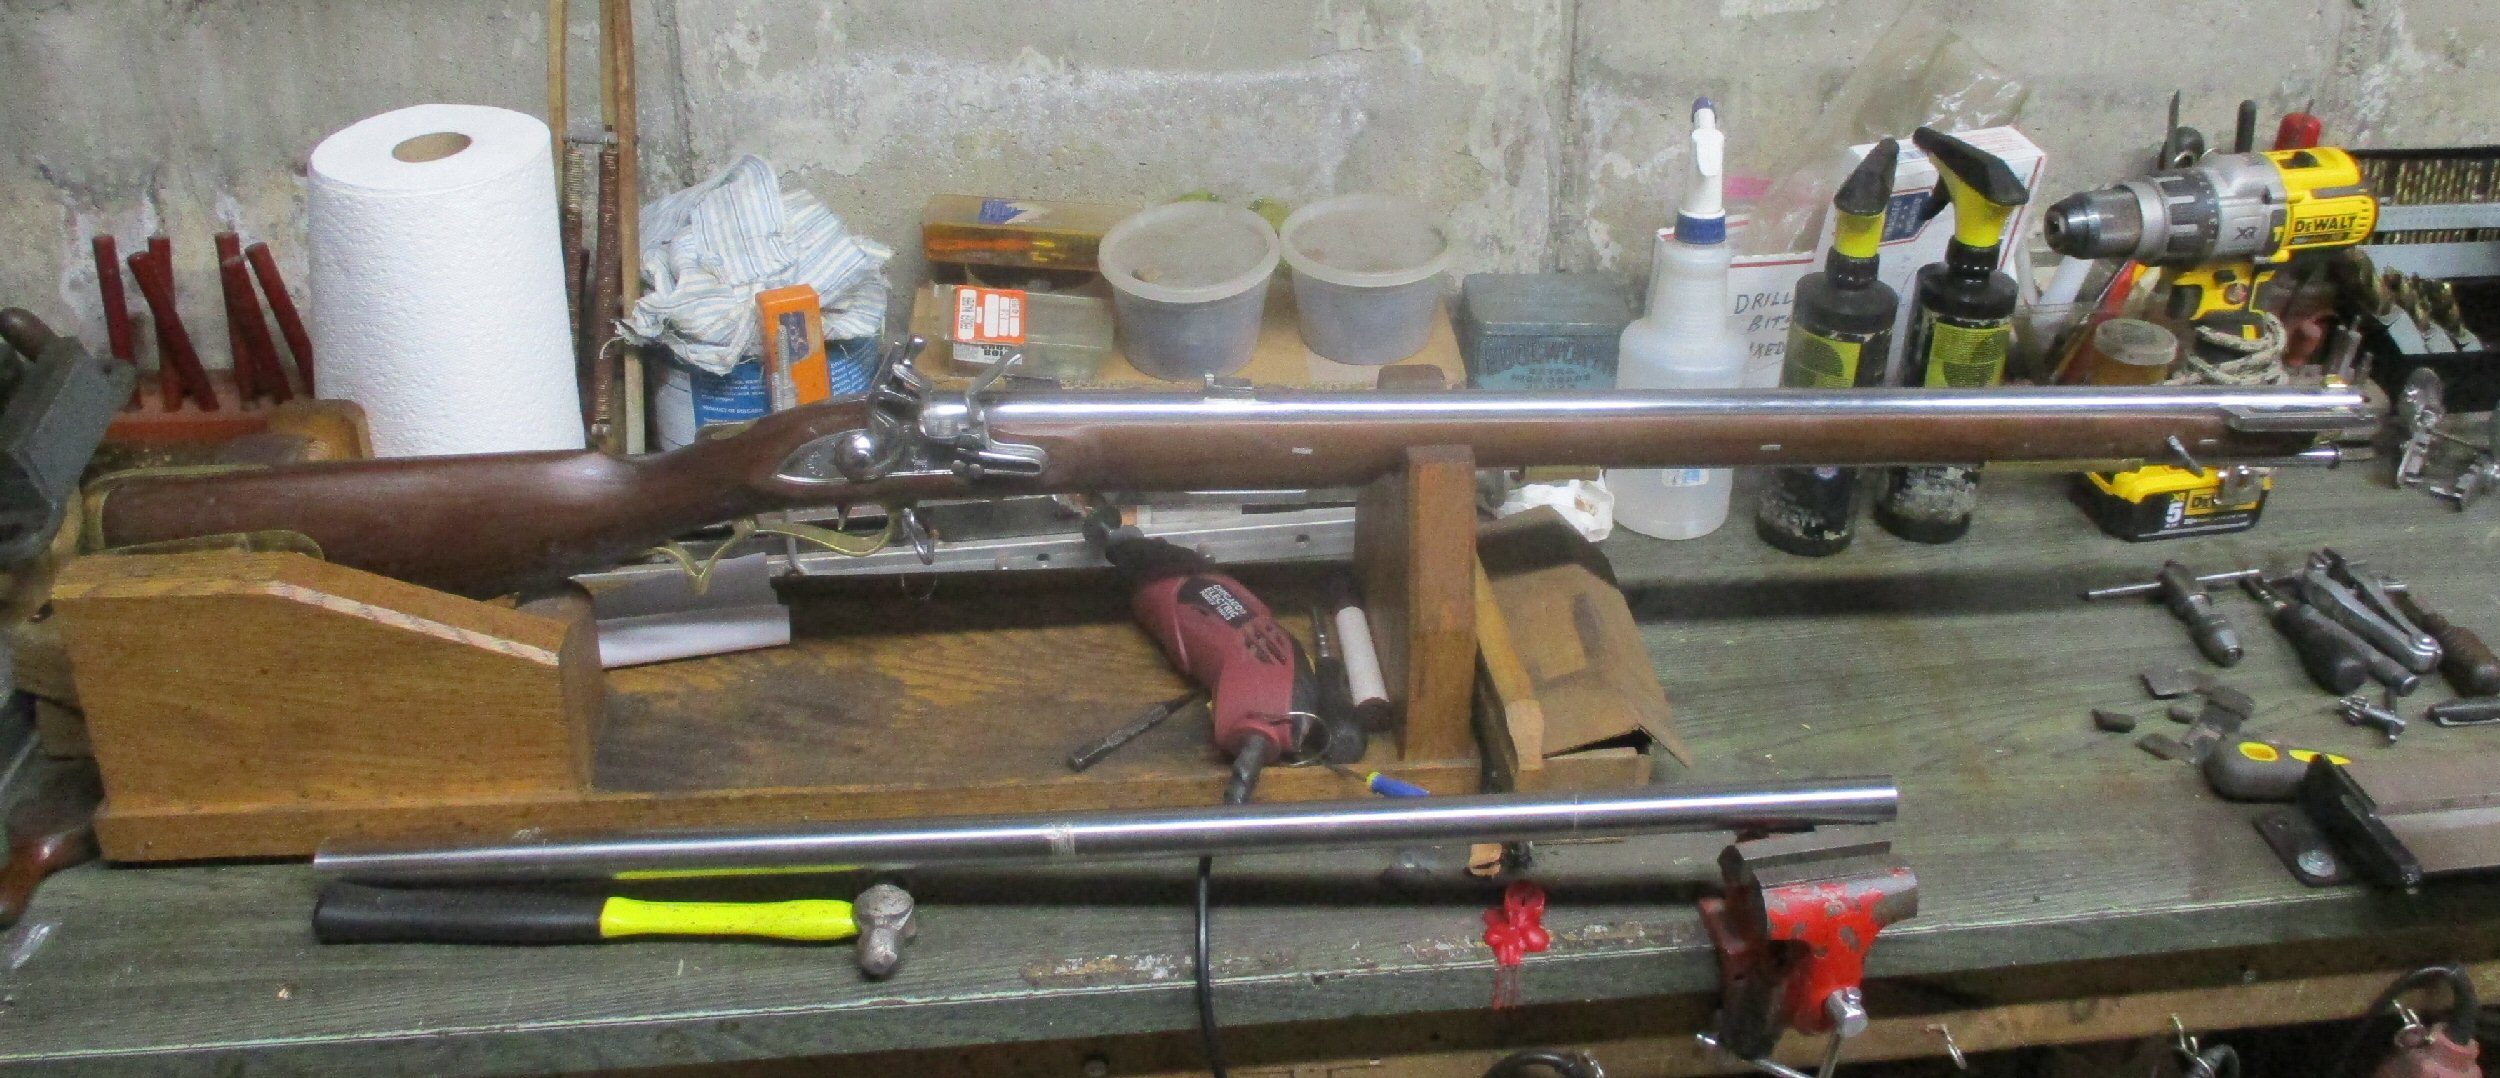
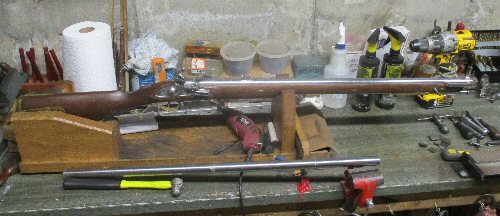
We started with this, a factory stock Baker rifle with a smoothbore barrel. Laying on the bench in front of it is the rifled Colerain barrel.
|
|
| |
|
|
|
|
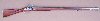
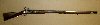
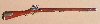
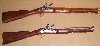
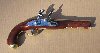
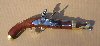
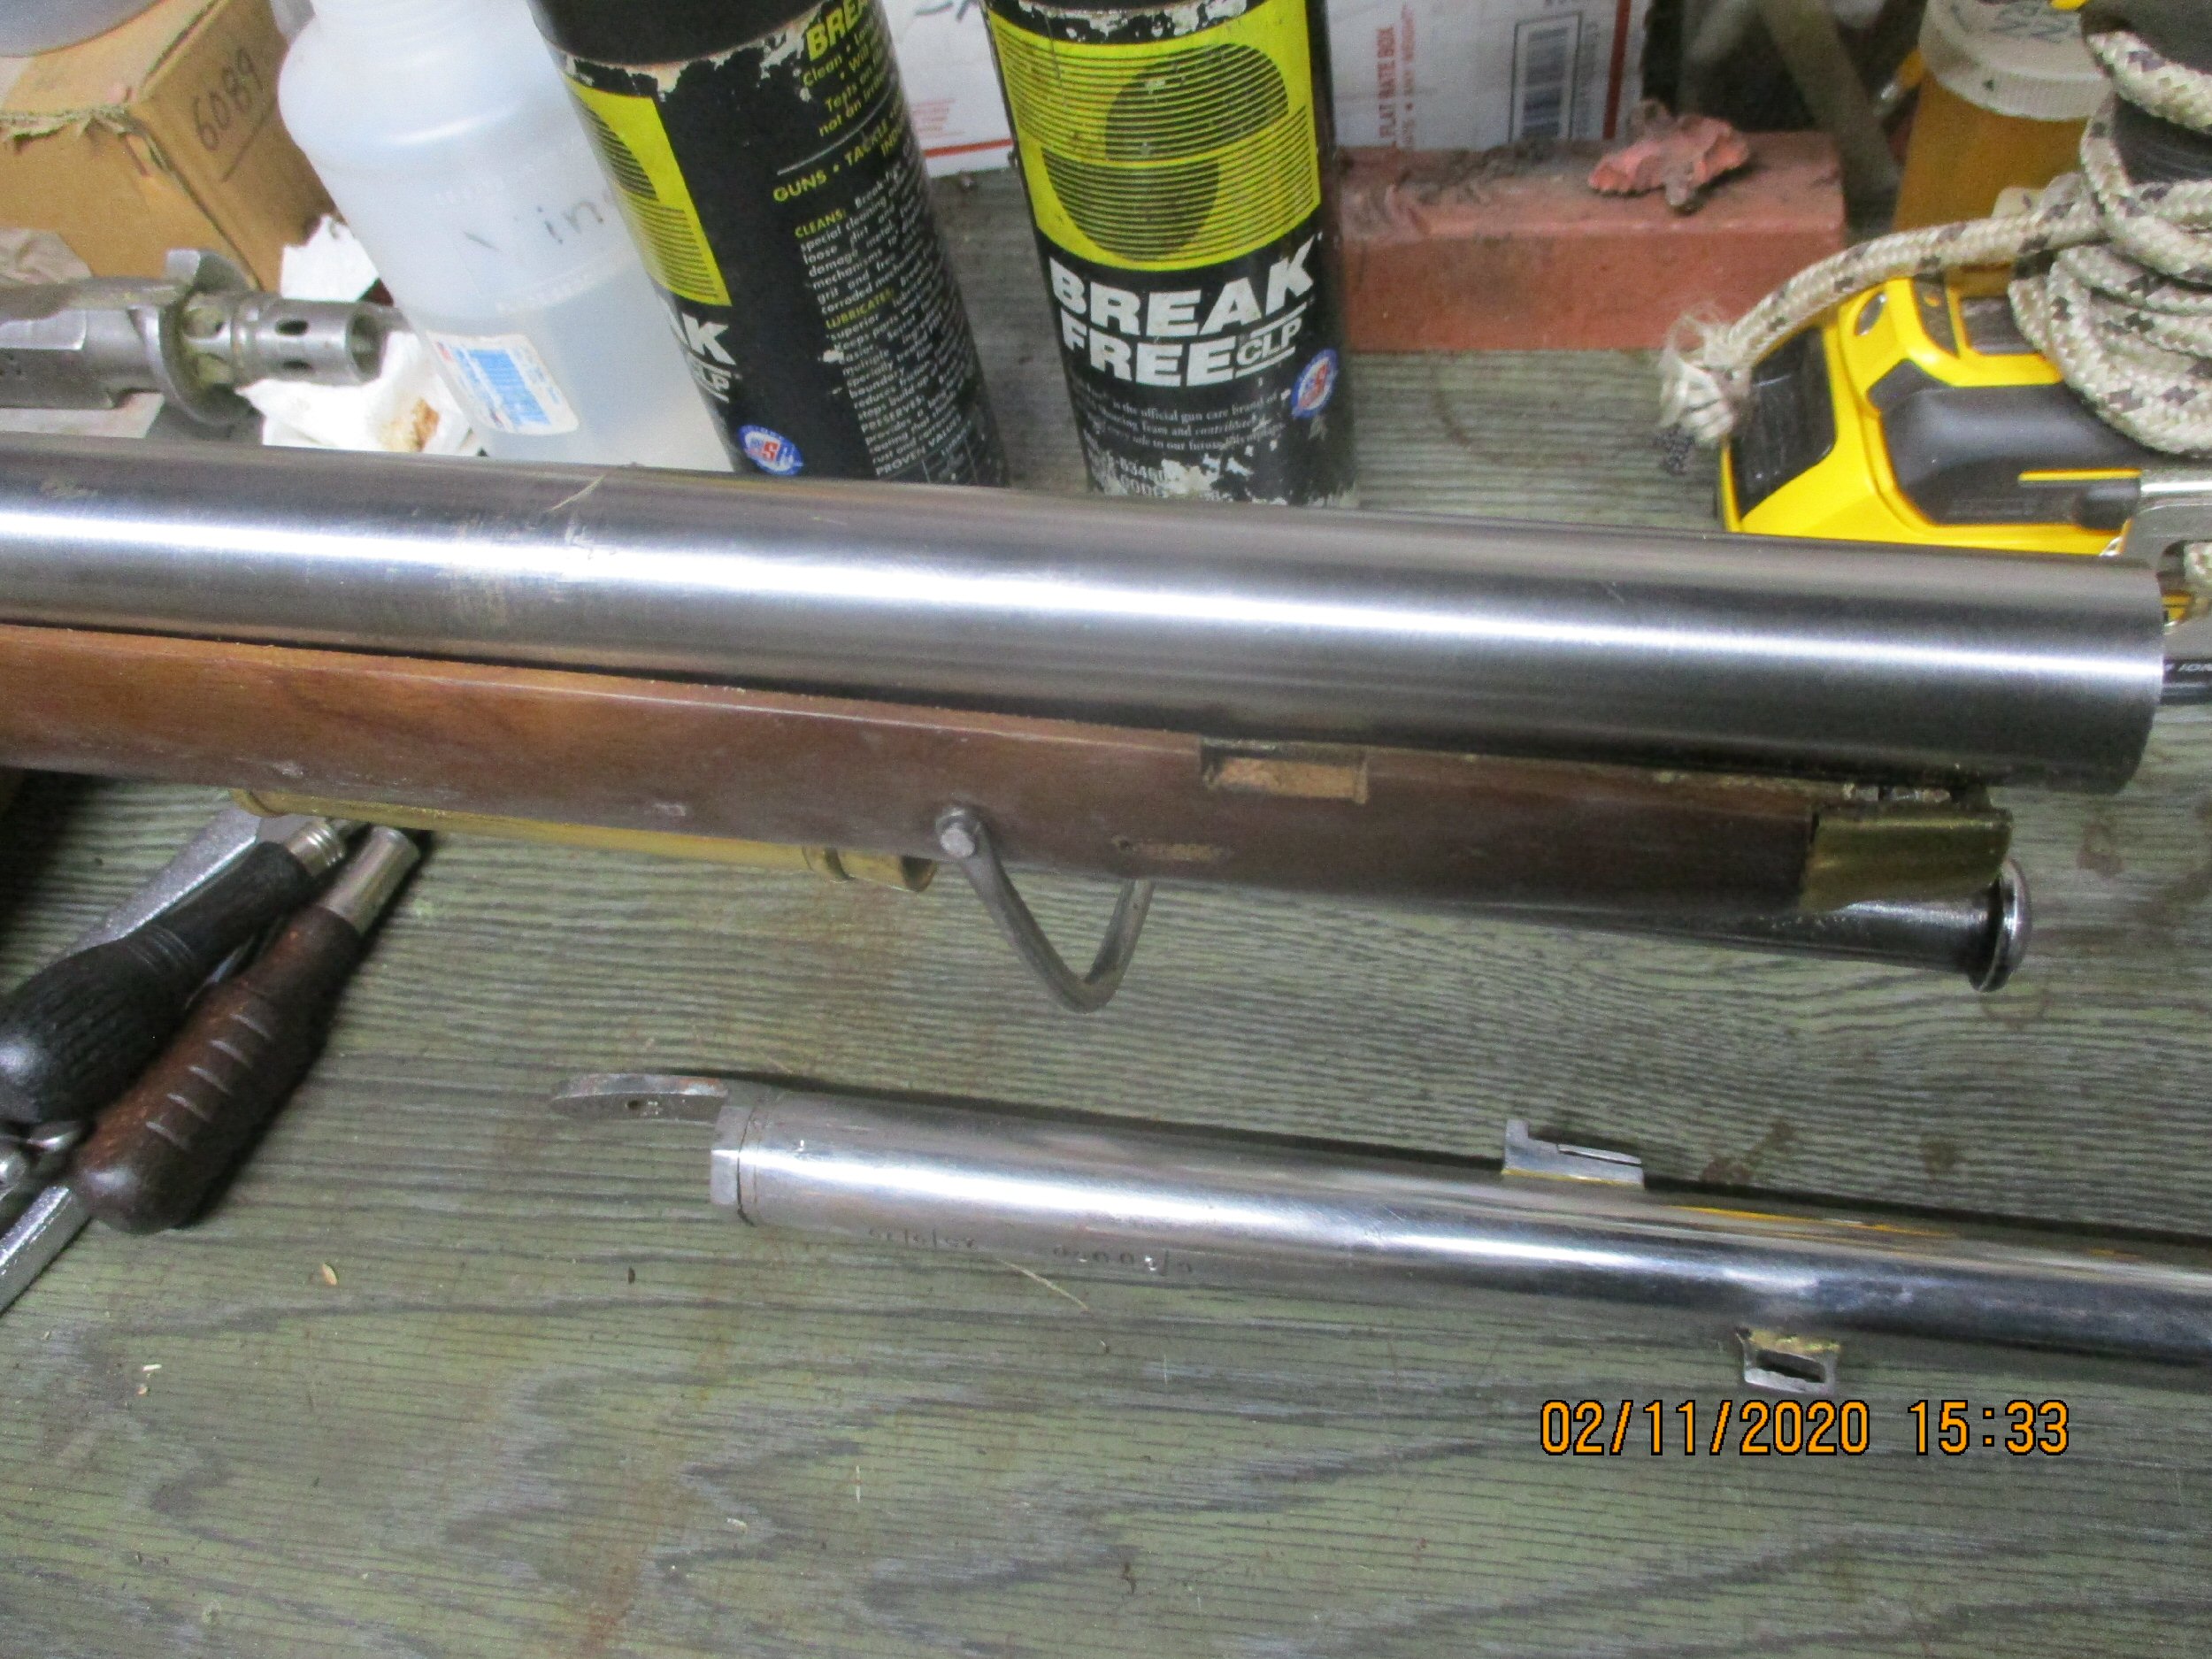
With the muzzles of the two barrels lined up, you can see how much shorter the Colerain barrel is than the factory smoothbore barrel.
|
|
| |
|
|
|
|
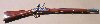
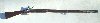
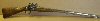
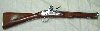
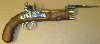
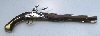
Consider that some of this space it taken up by the hooked breech tang, but there is still a sizeable gap that needs to be dealt with if the muzzle is to fall in the right place.
|
|
| |
|
|
|
|
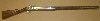
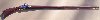
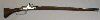
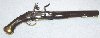
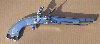
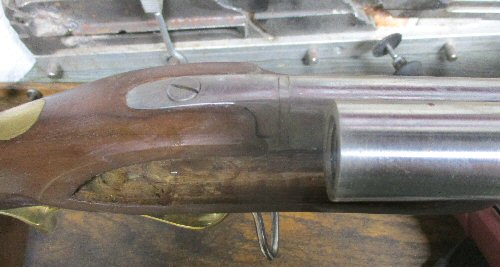
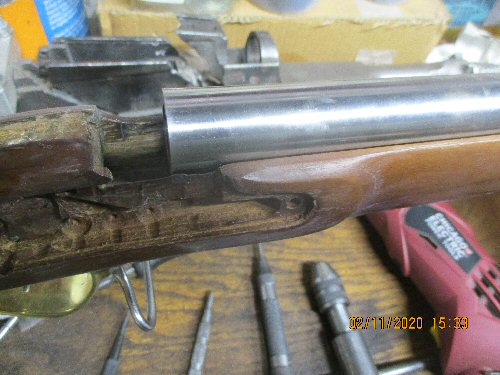
When completed, the muzzle should stick out past the nosecap a bit. Note that the Colerain barrel is much fatter than the factory barrel and won't fit in the barrel channel. We'll deal with that later.
|

|
| |
|
|
|
|
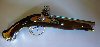
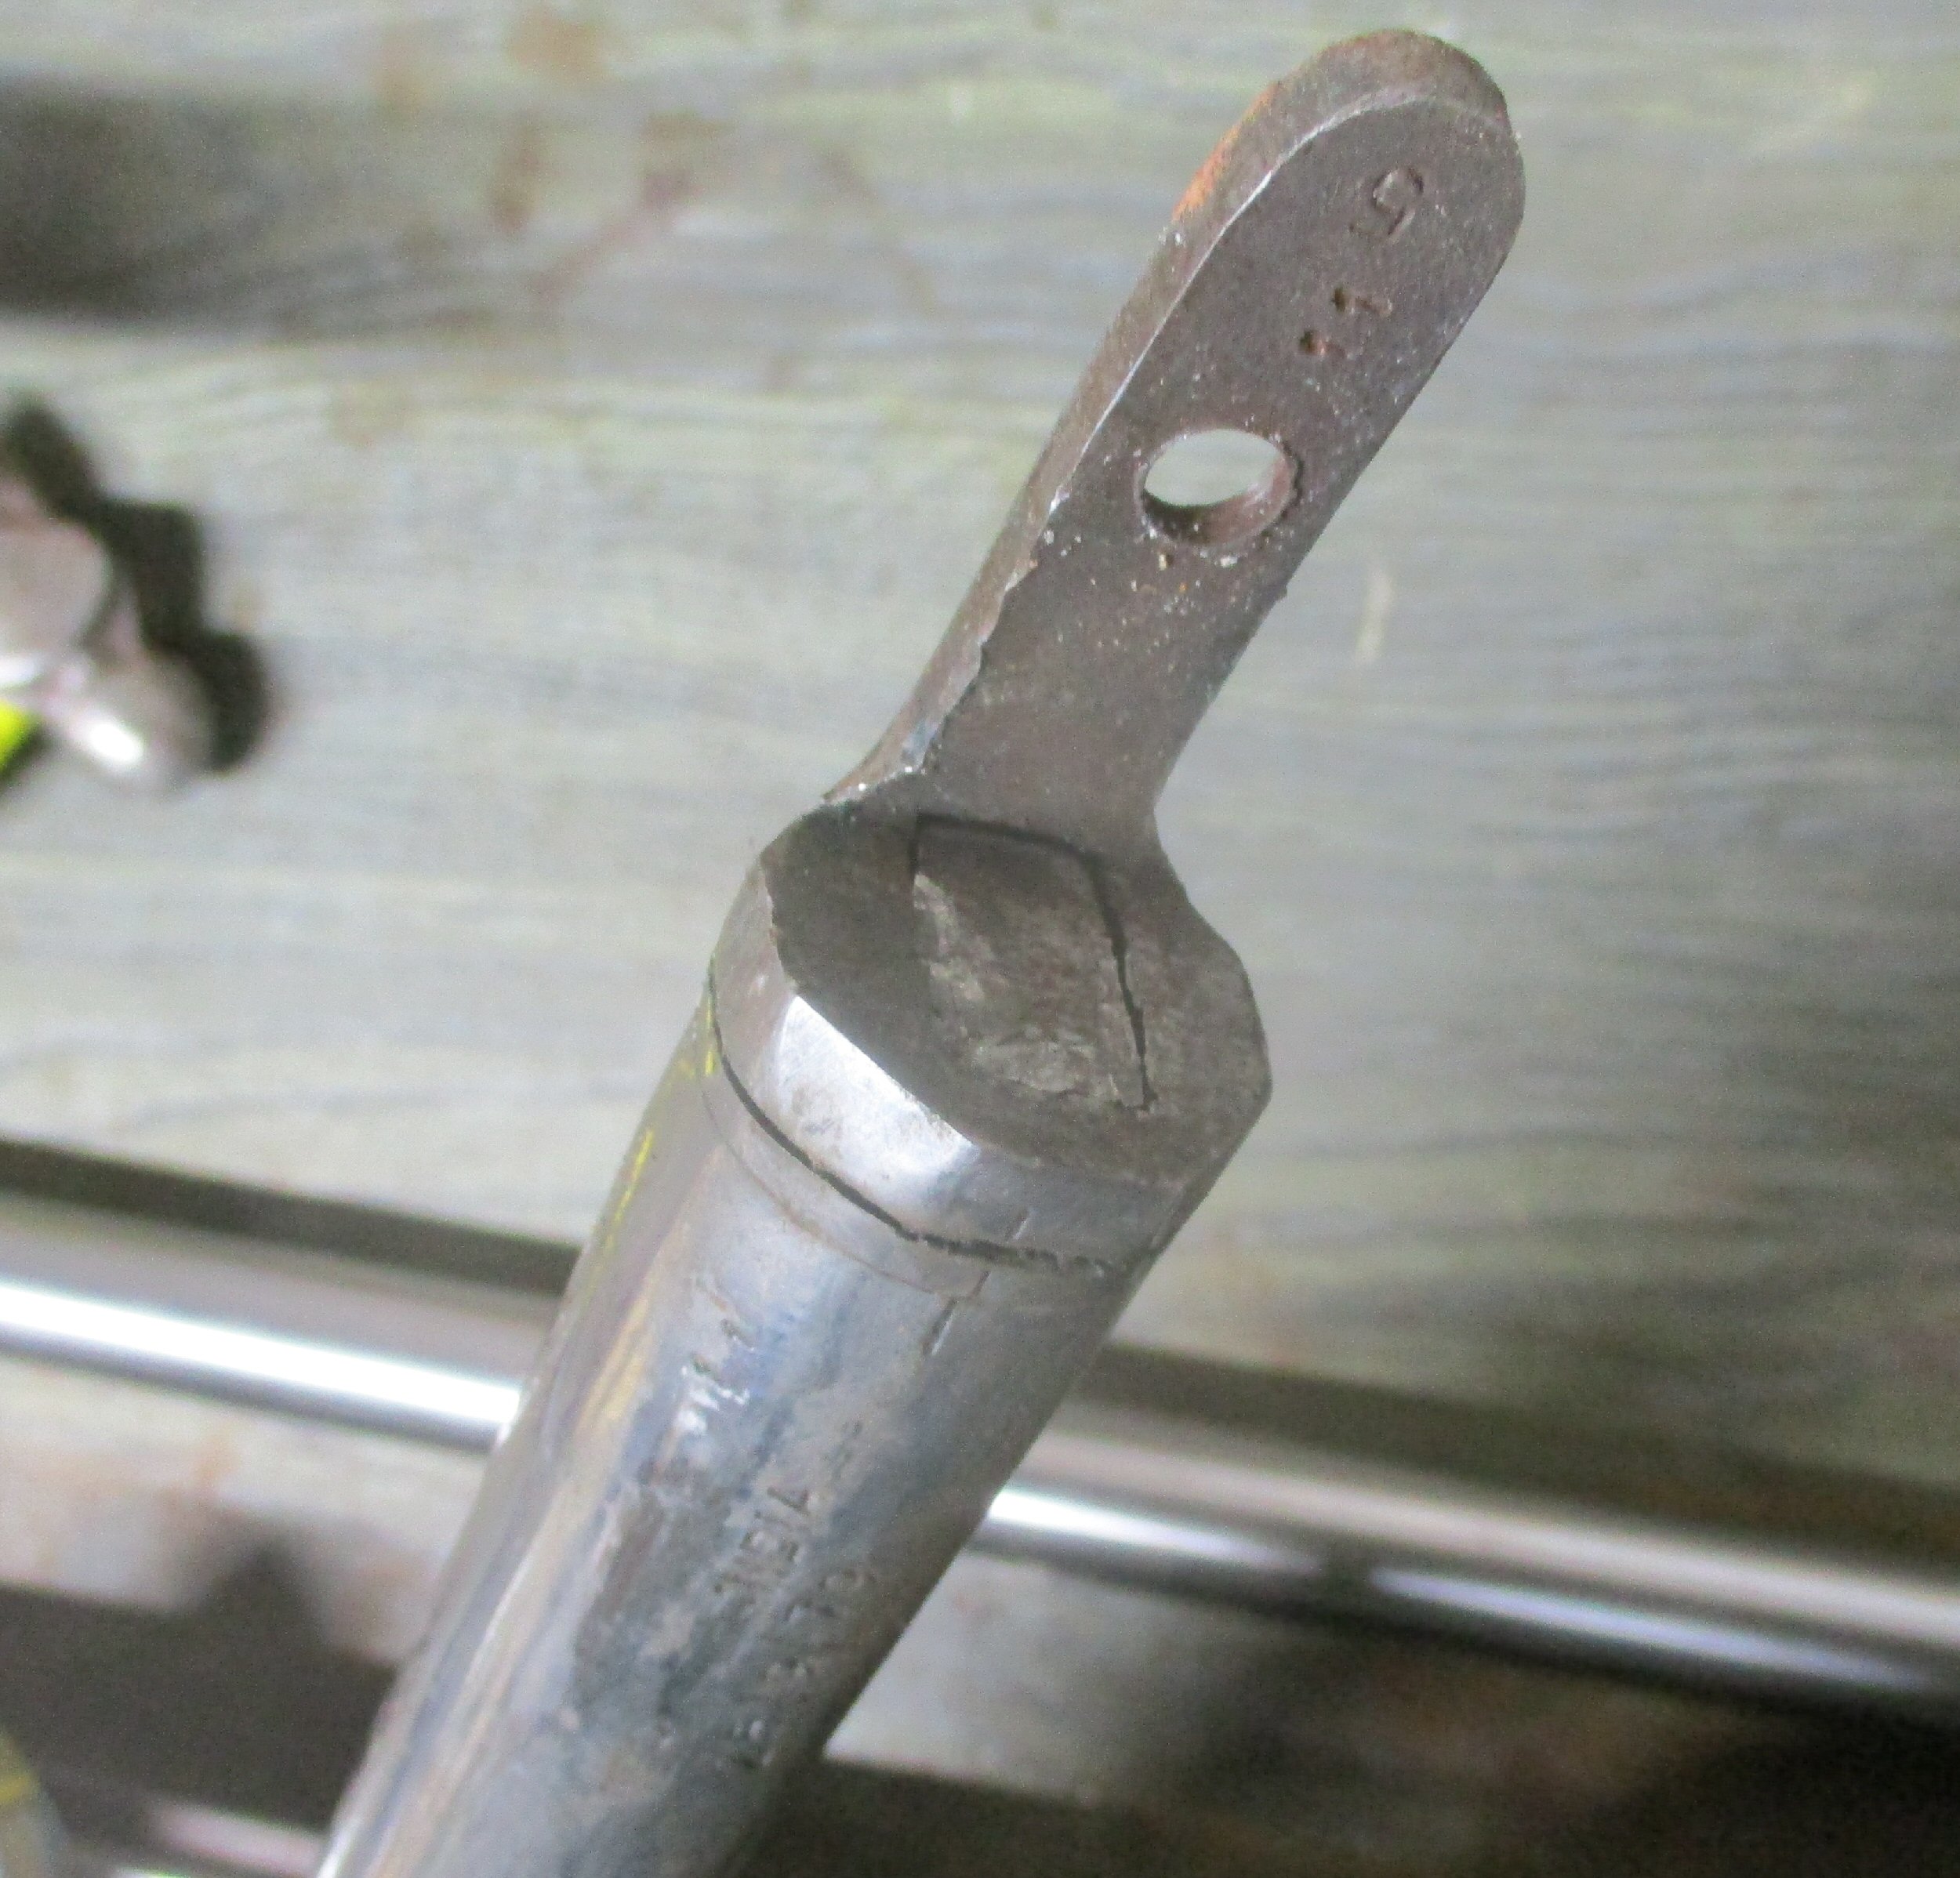
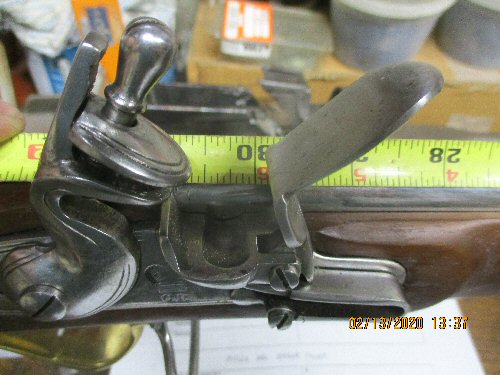
A Baker has a hooked breech. The brecchplug has a short hook on the back that engages with a slot forged and filed into the separate tang piece. These are supposed to just lift right out, but without fail the guys in the shop in India have peened the hook over so it won't part from the tang without my reworking it. This shape will have to be replicated on the new breechplug.
|

|
| |
|
|
|
|
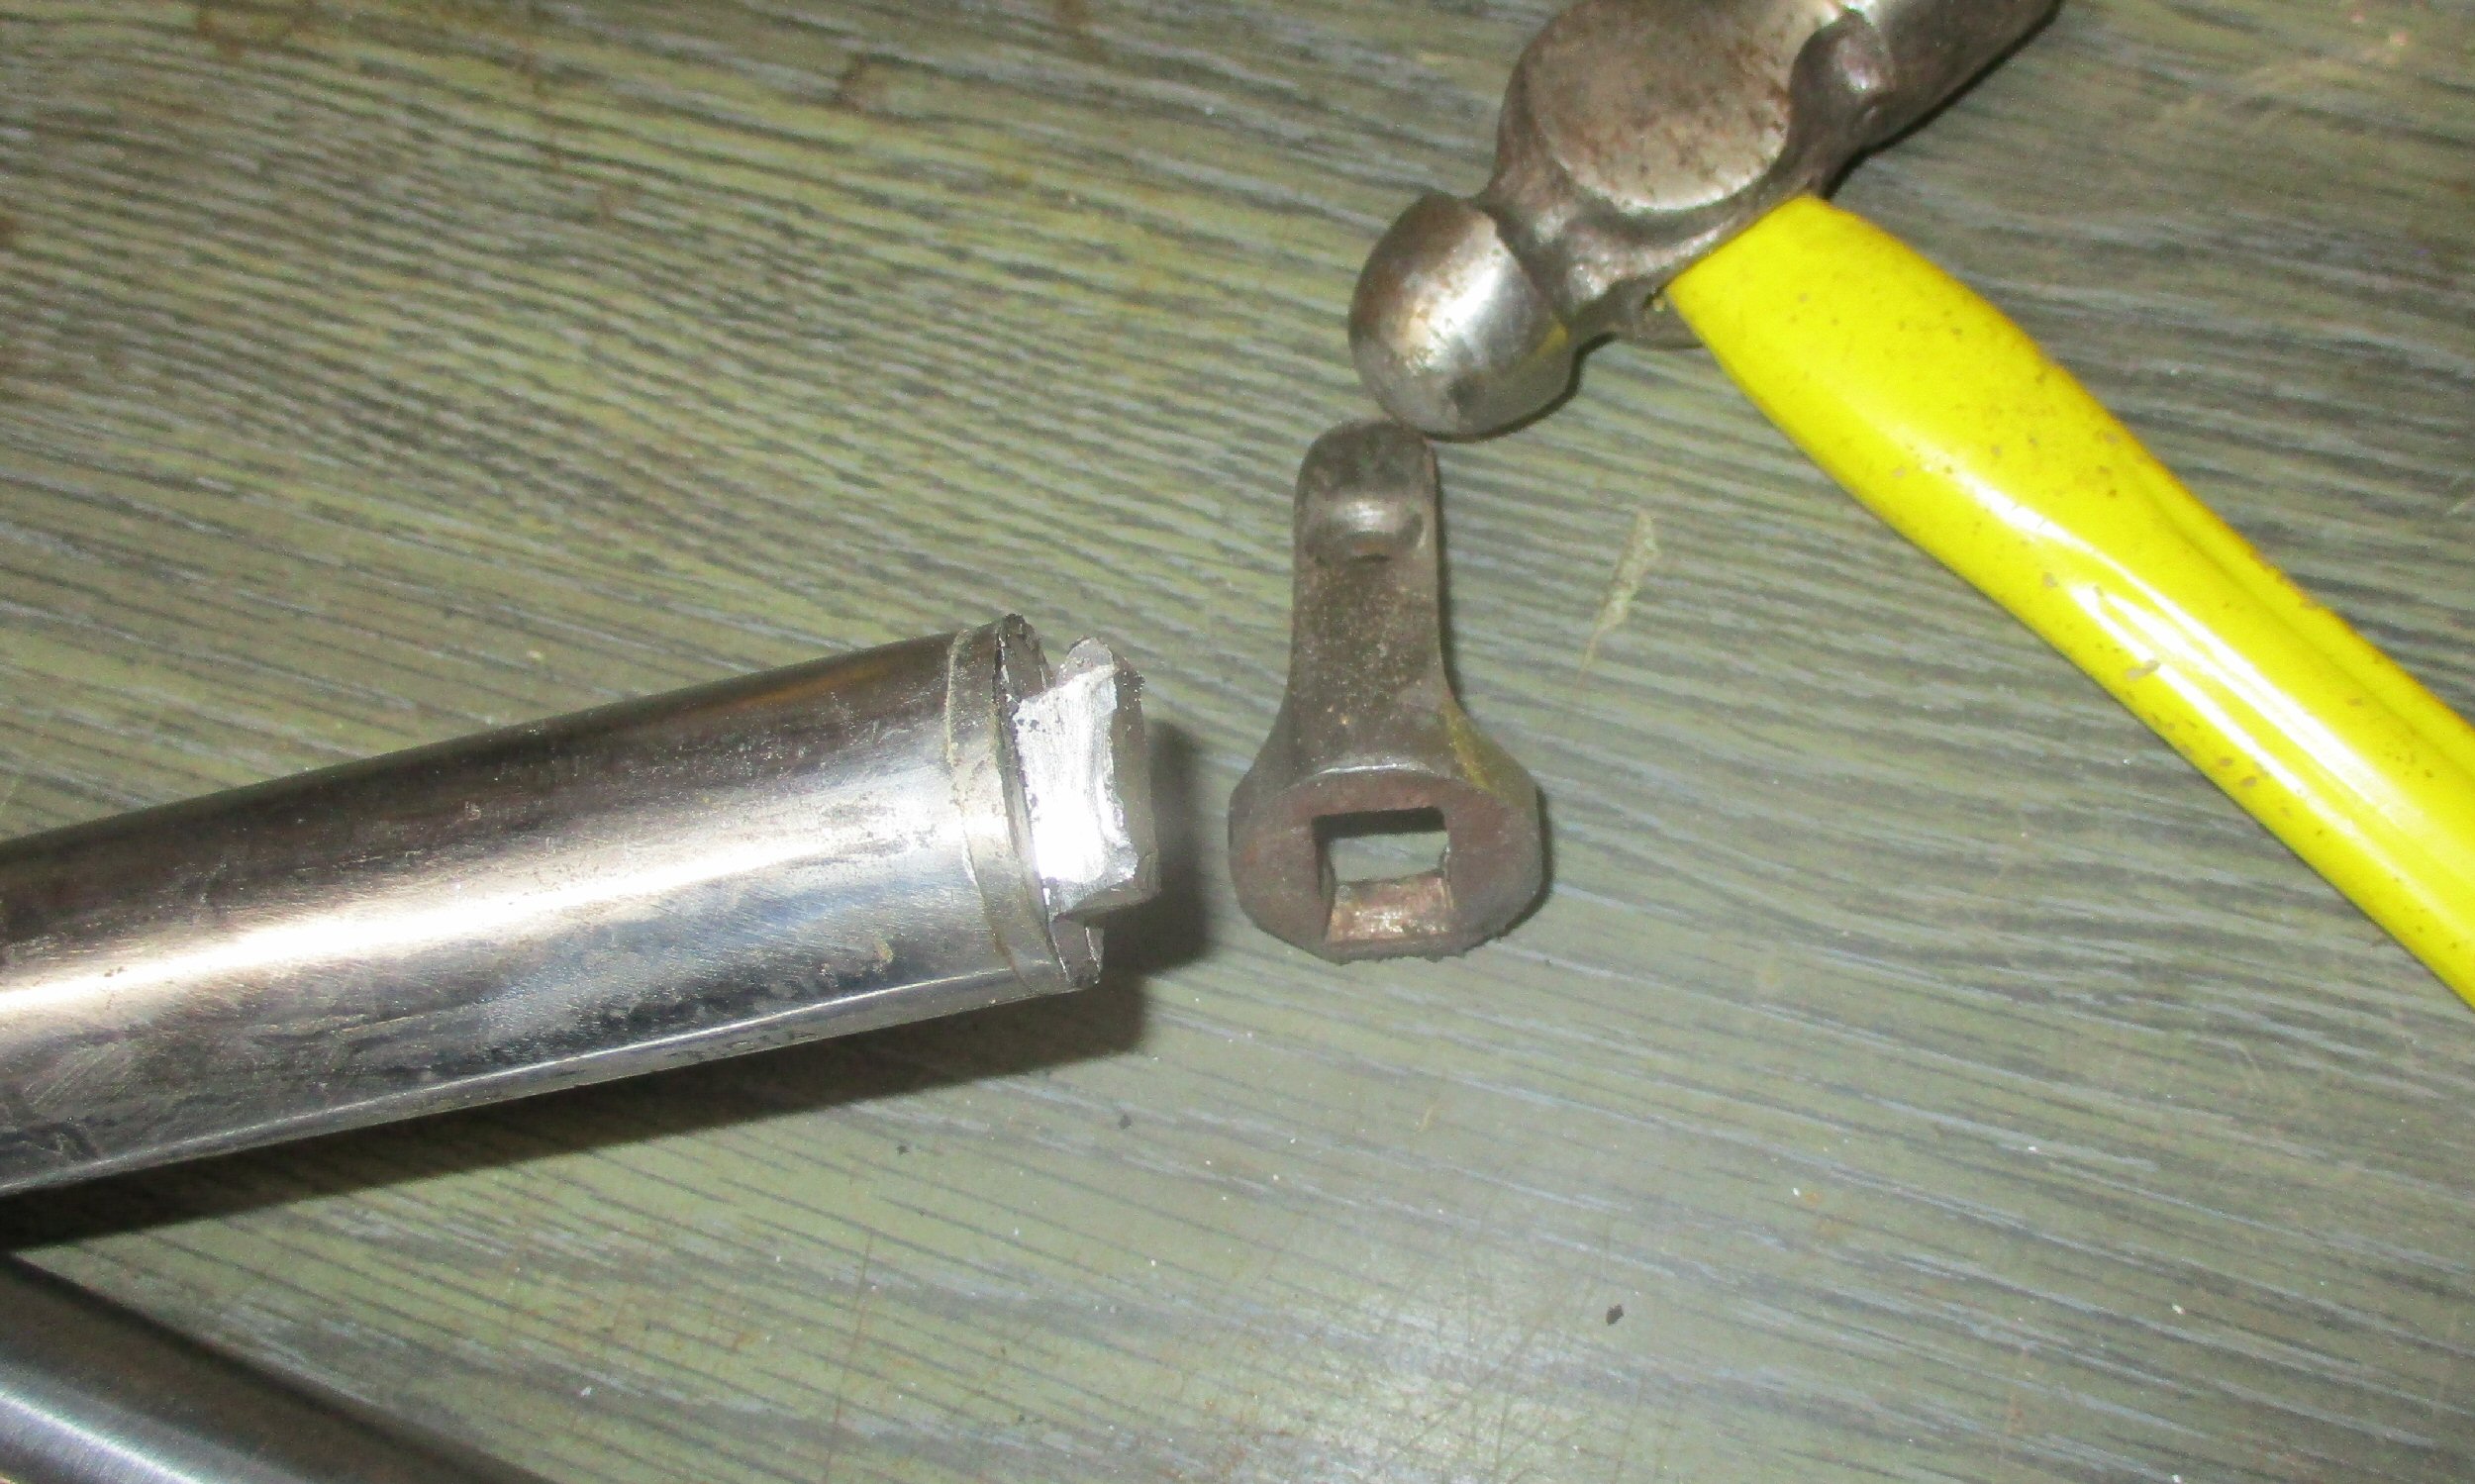
A couple of whacks with a hammer and it is off. If this were going to be a regular production smoothbored gun, I'd rework the rough edges of the hook and reinstall it.
|

|
| |
|
|
|
|
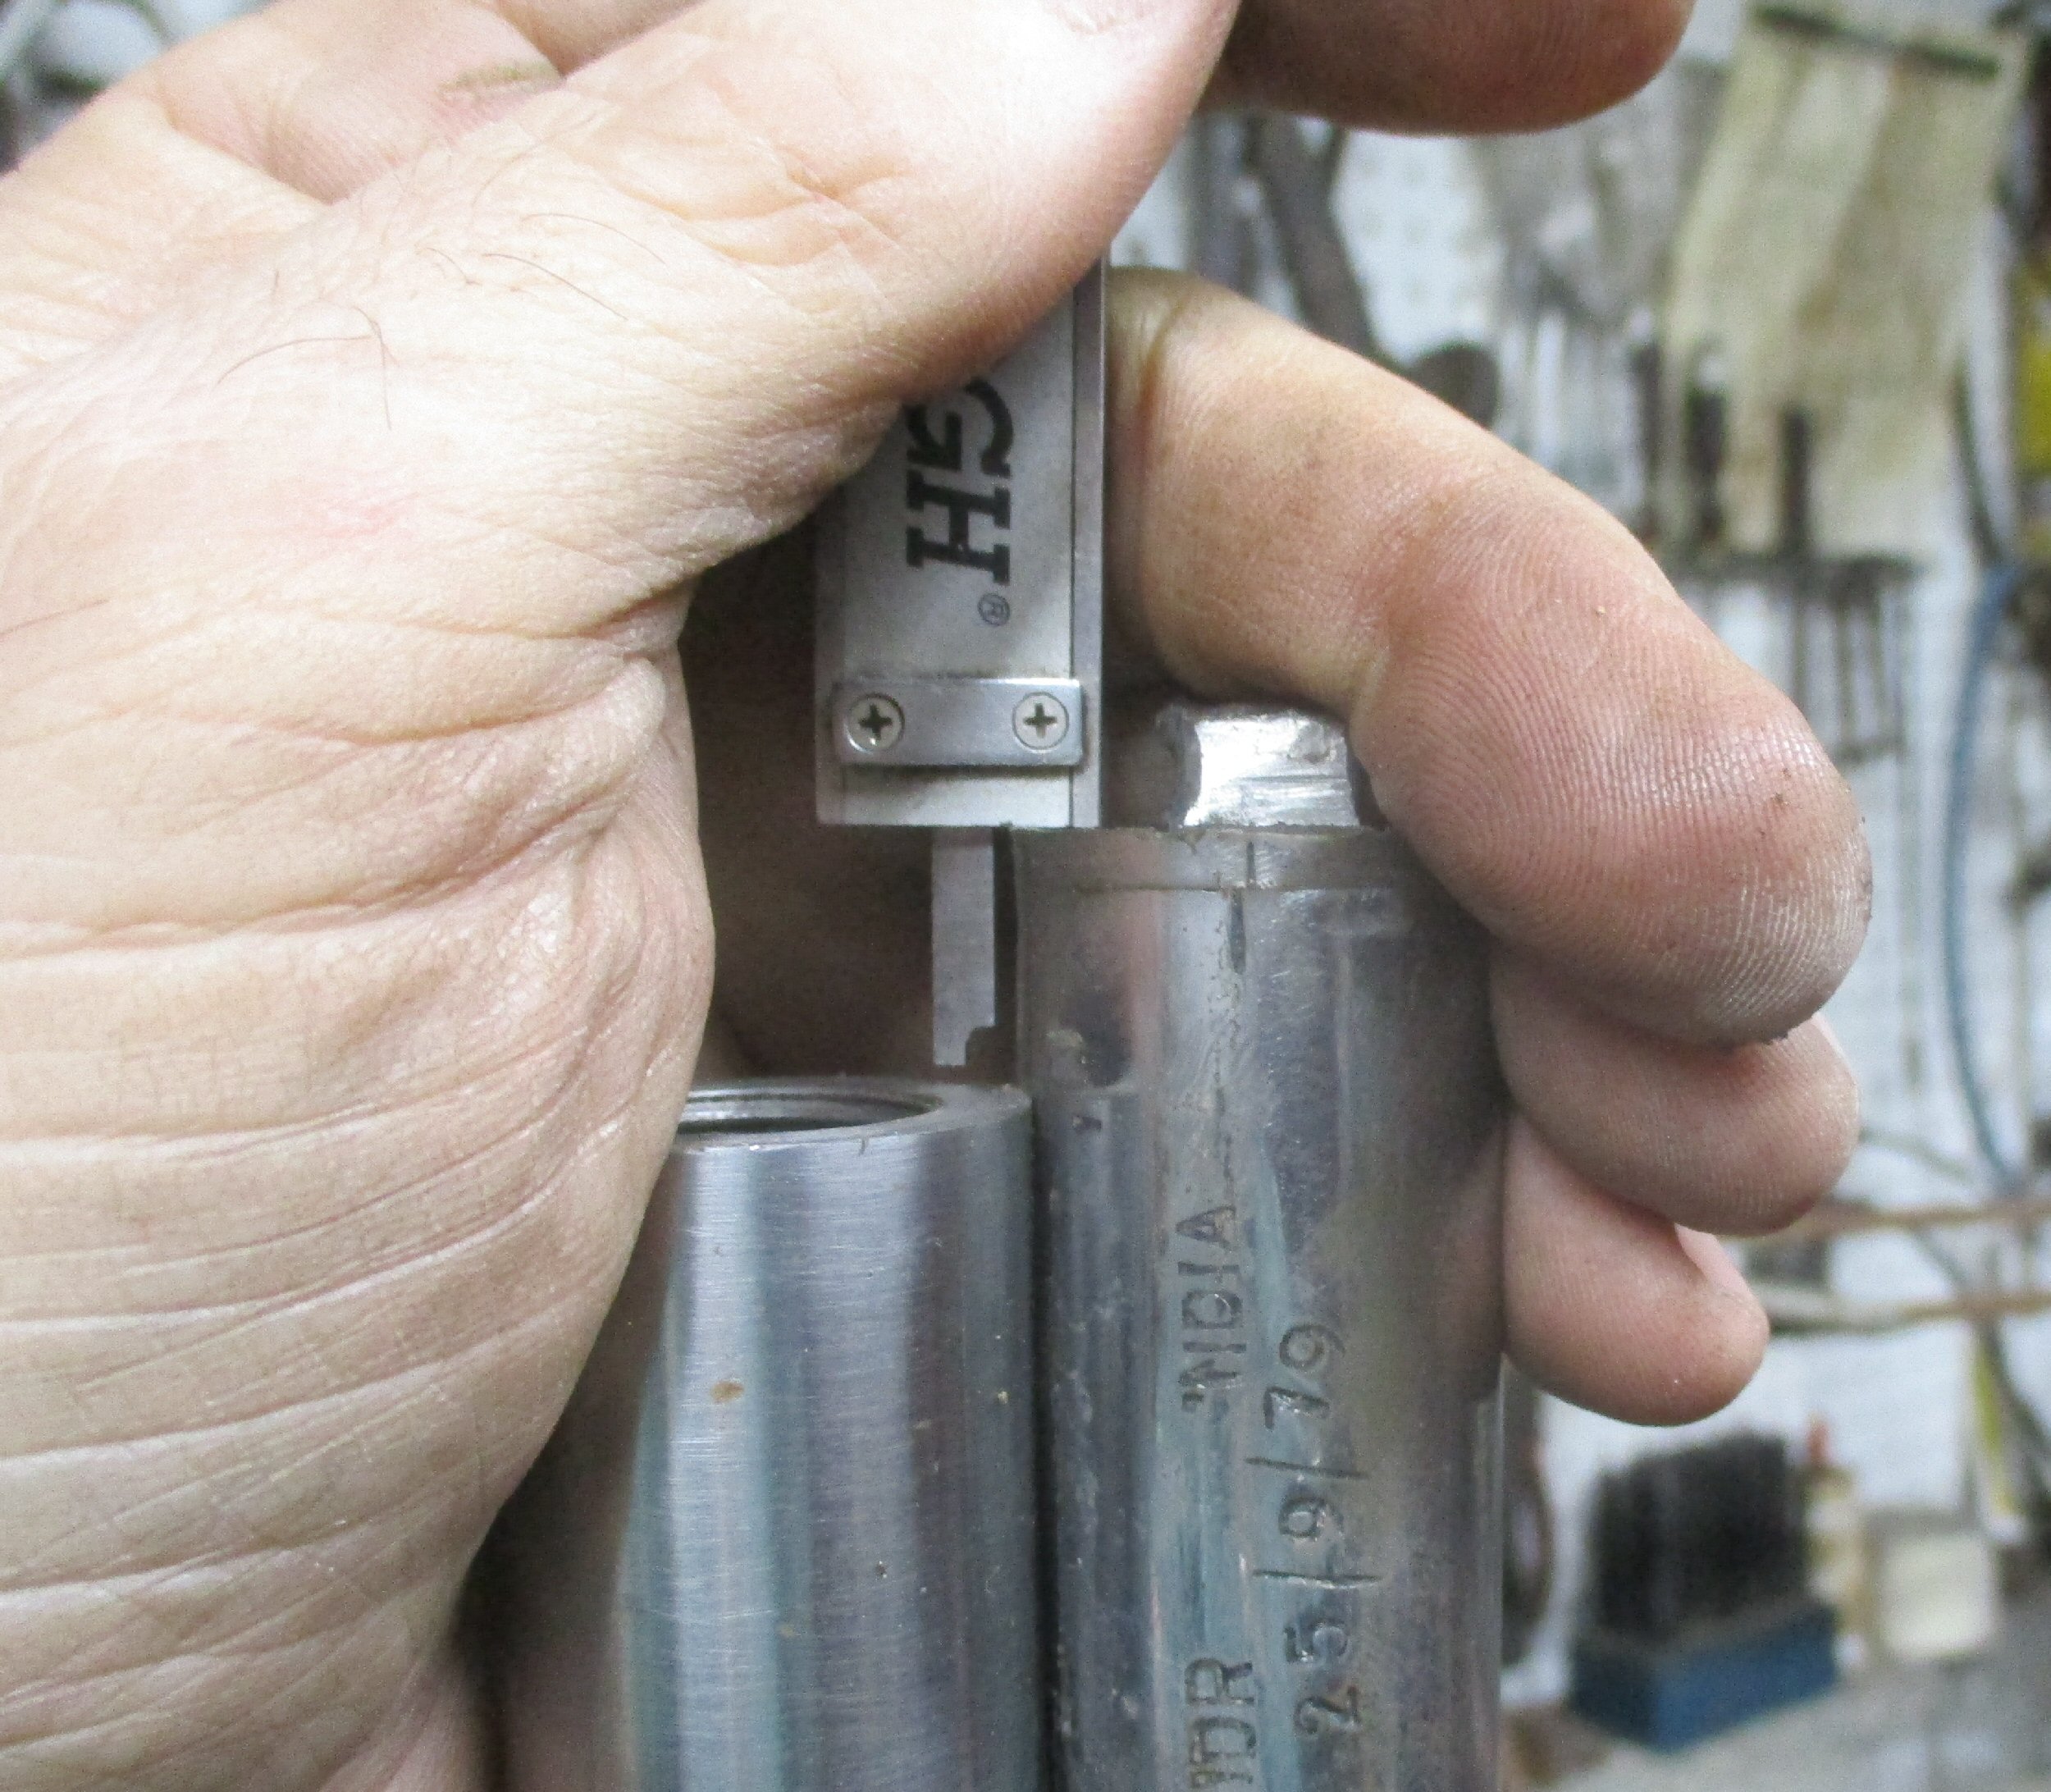
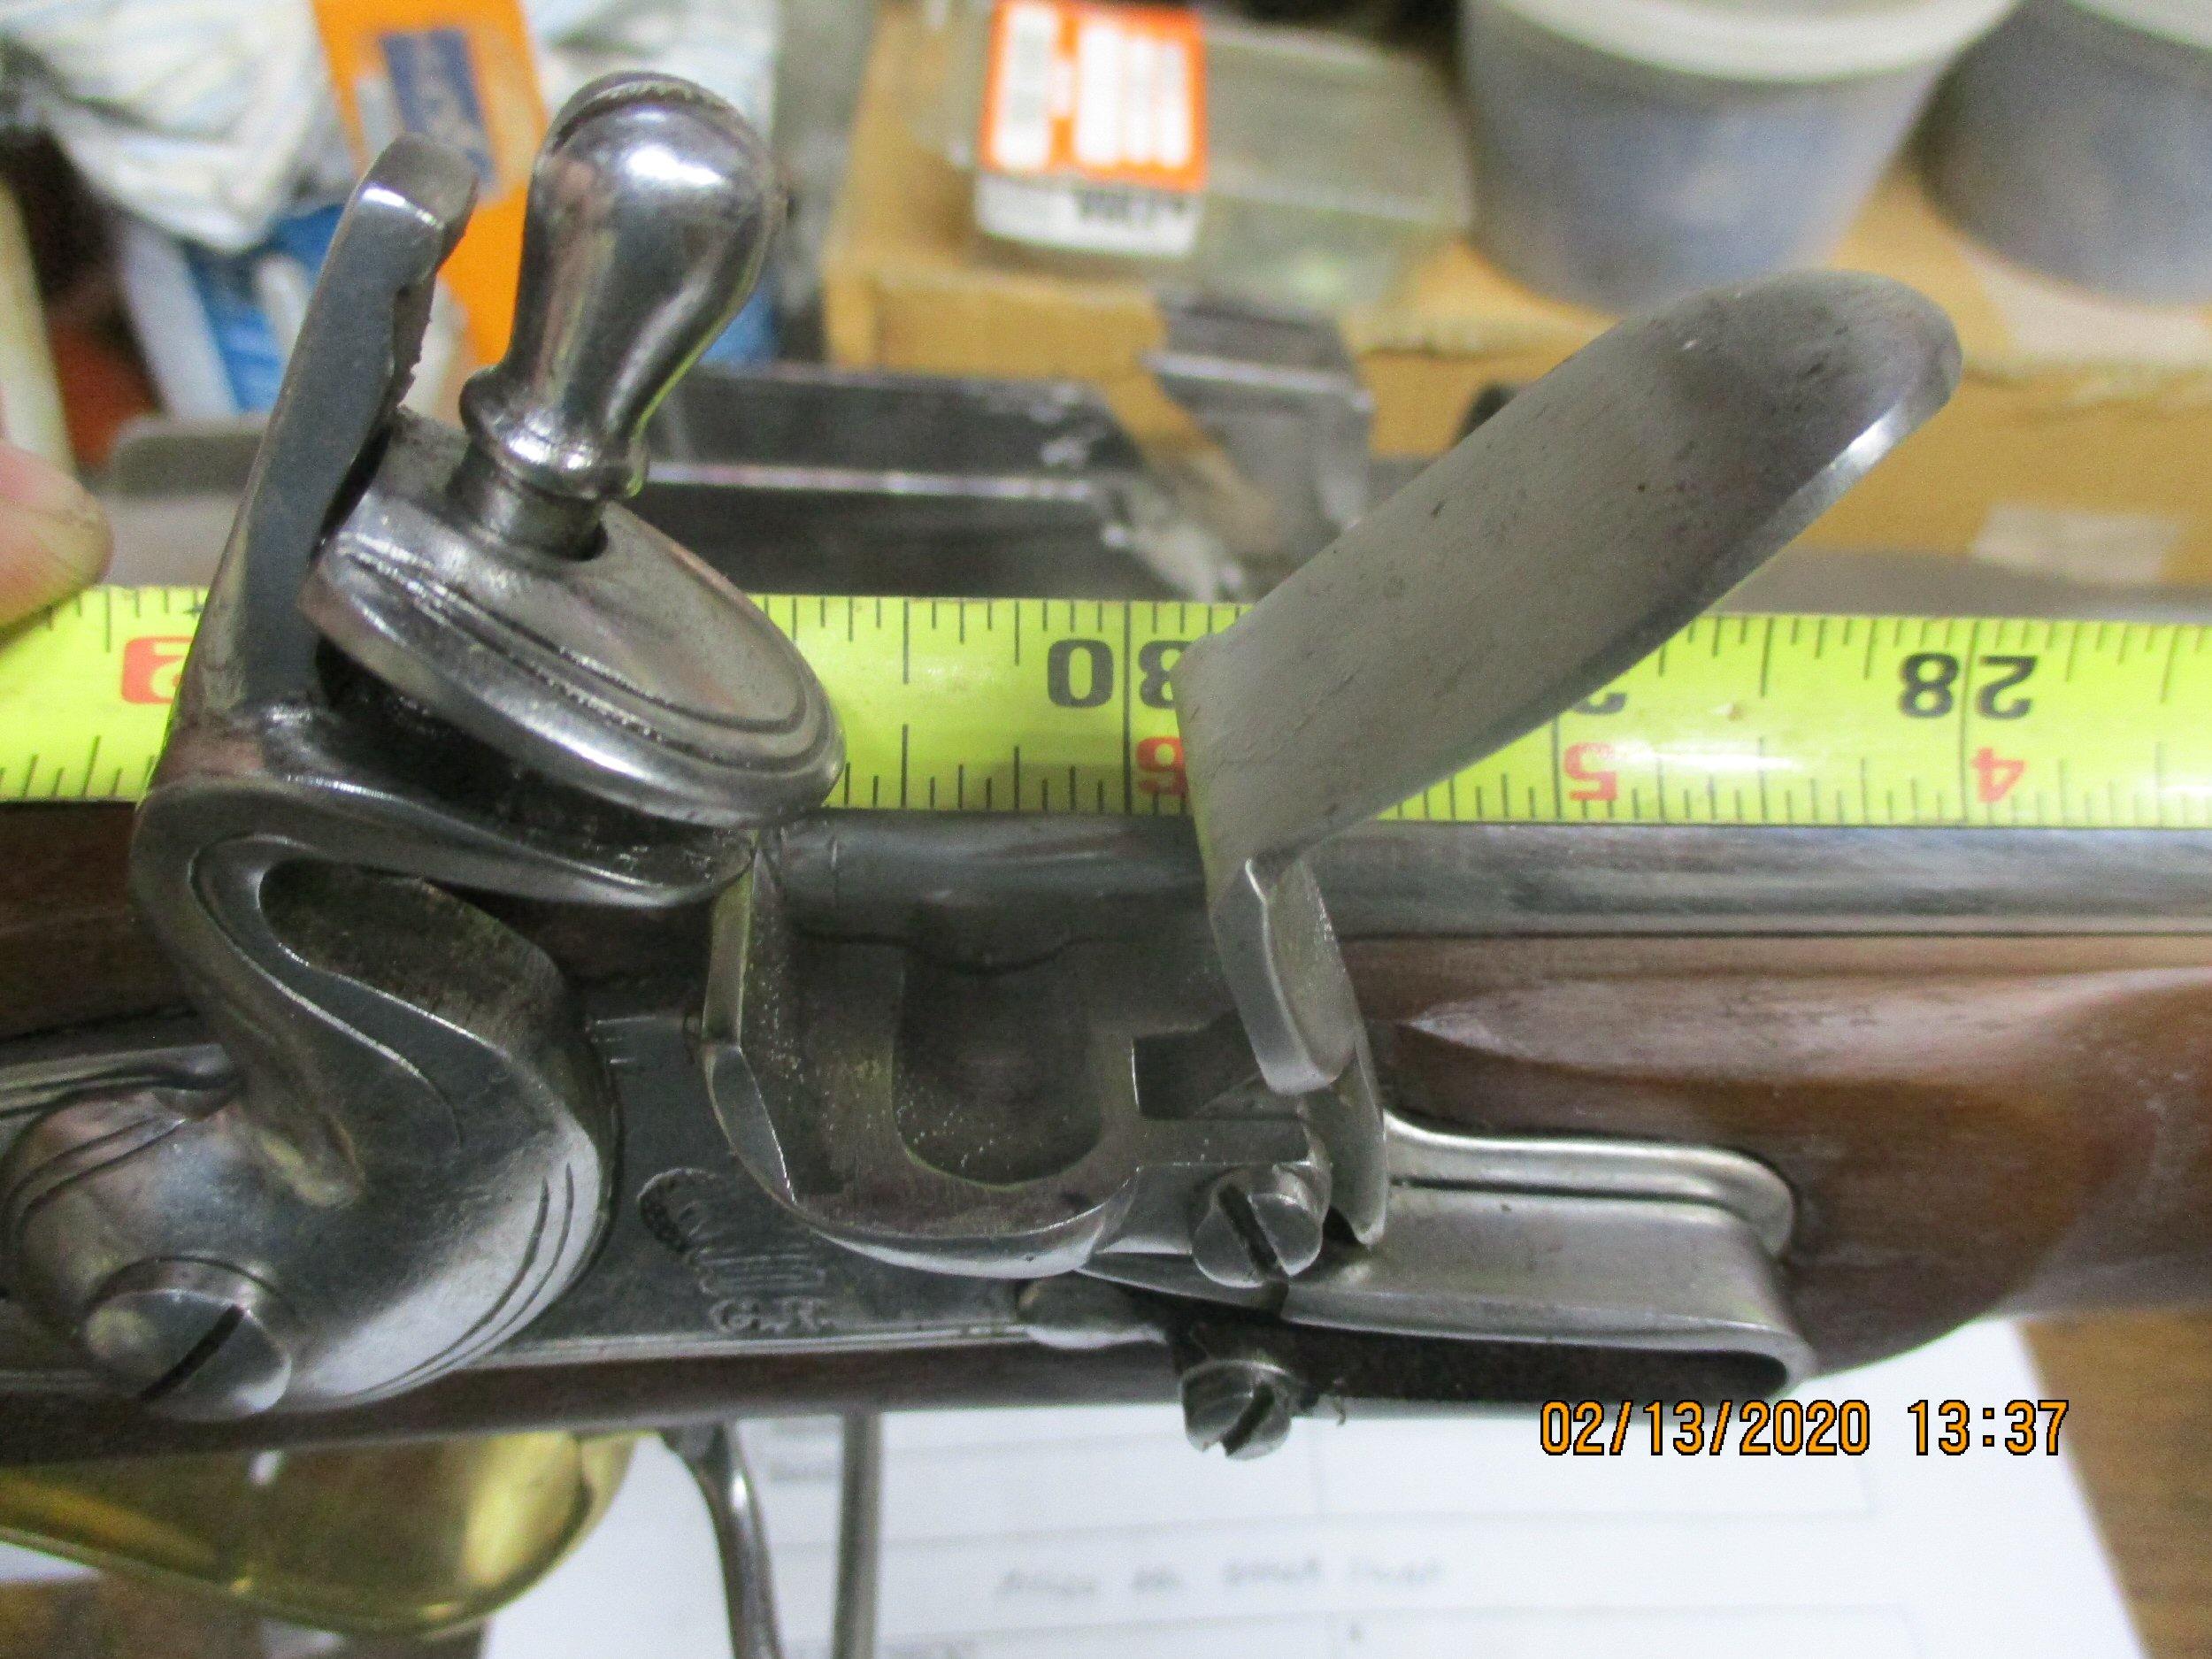
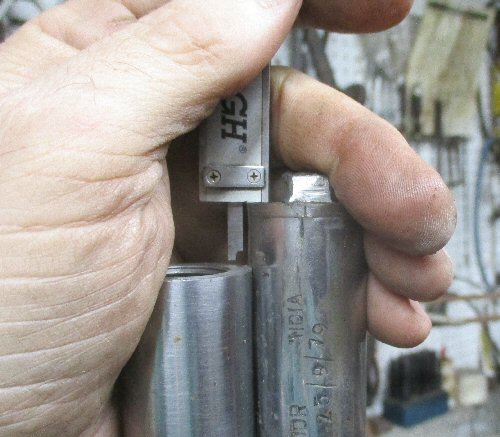
The next step is to line up the muzzles and measure how thick the flange on the back of the new breechplug has to be. I did so with a digital caliper.
|
|
| |
|
|
|
|
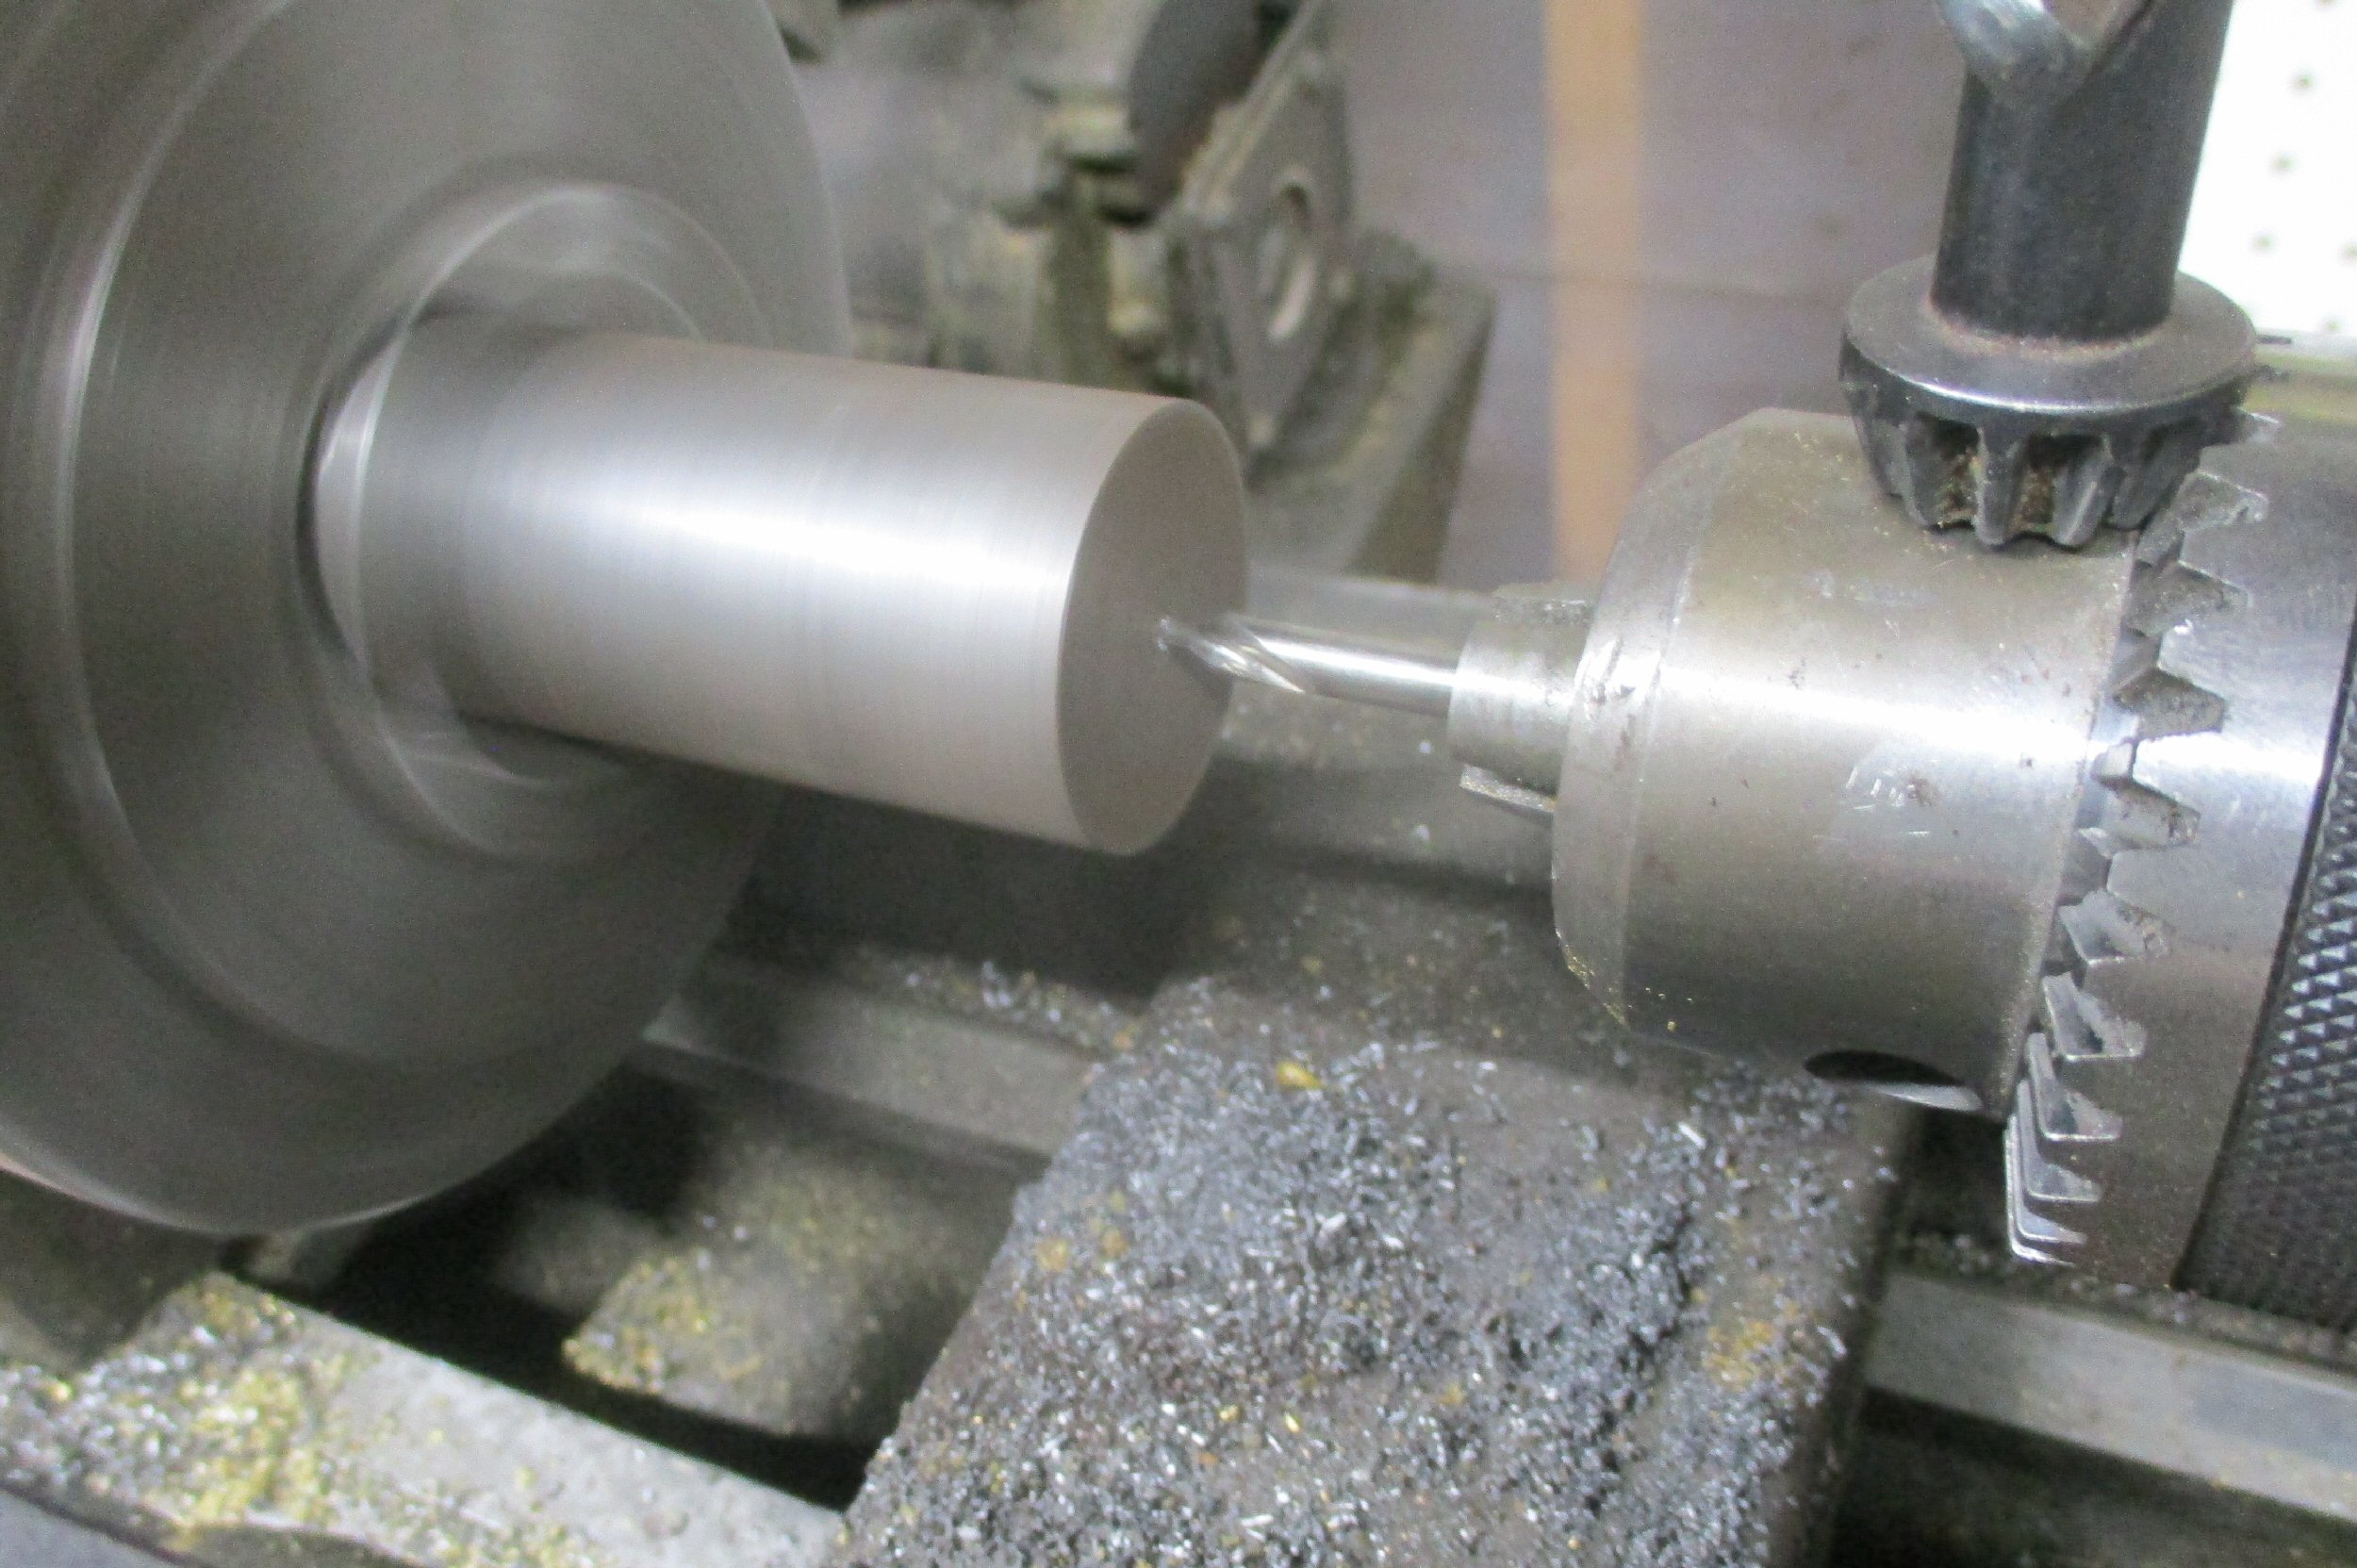
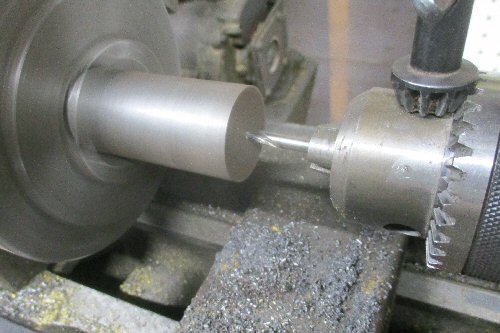
The new breechplug started off as a piece of round stock chucked in the 1942 vintage South Bend lathe. First, a center drill is used to locate the actual center of the piece of steel.
|
|
| |
|
|
|
|
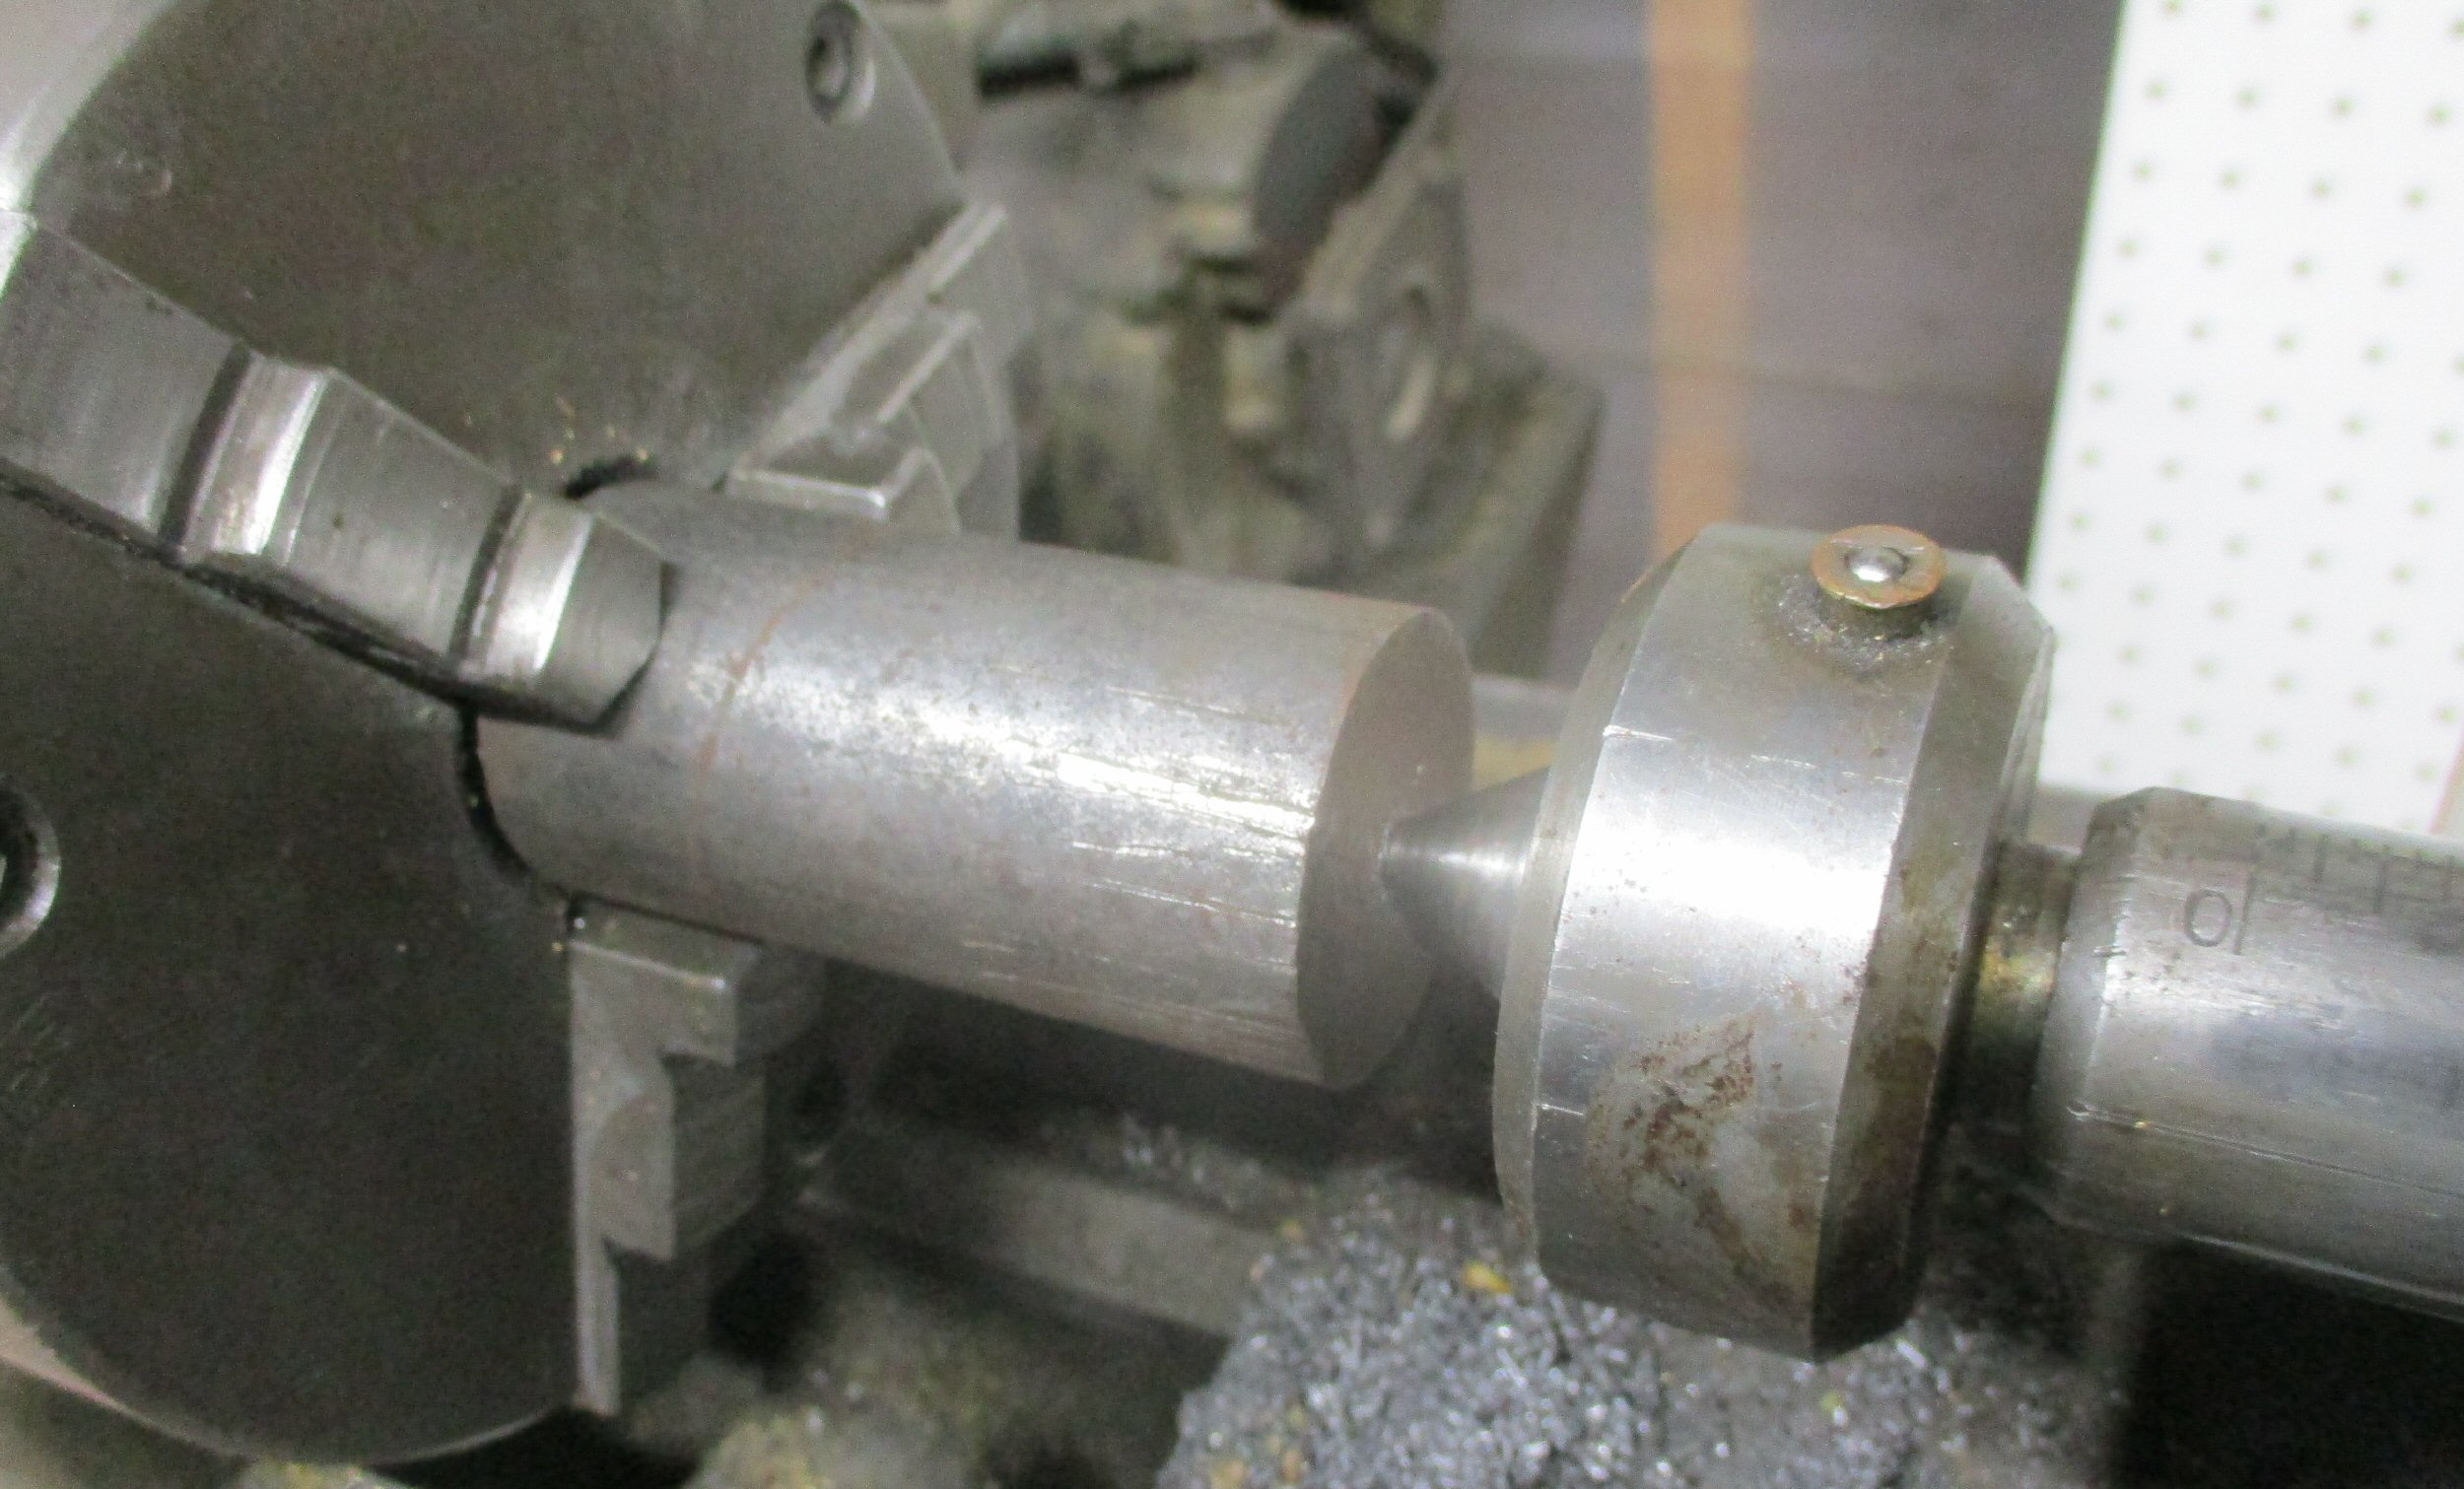
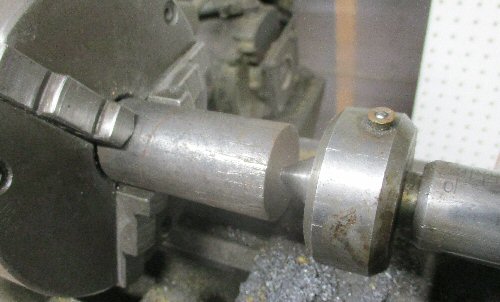
The pointy thing on the right is called a live center. The tip of it goes in the little divot that I drilled in the previous picture and keeps the steel stock centered. The pointy cone shaped part is ball bearing mounted and rotates with the part.
|
|
| |
|
|
|
|
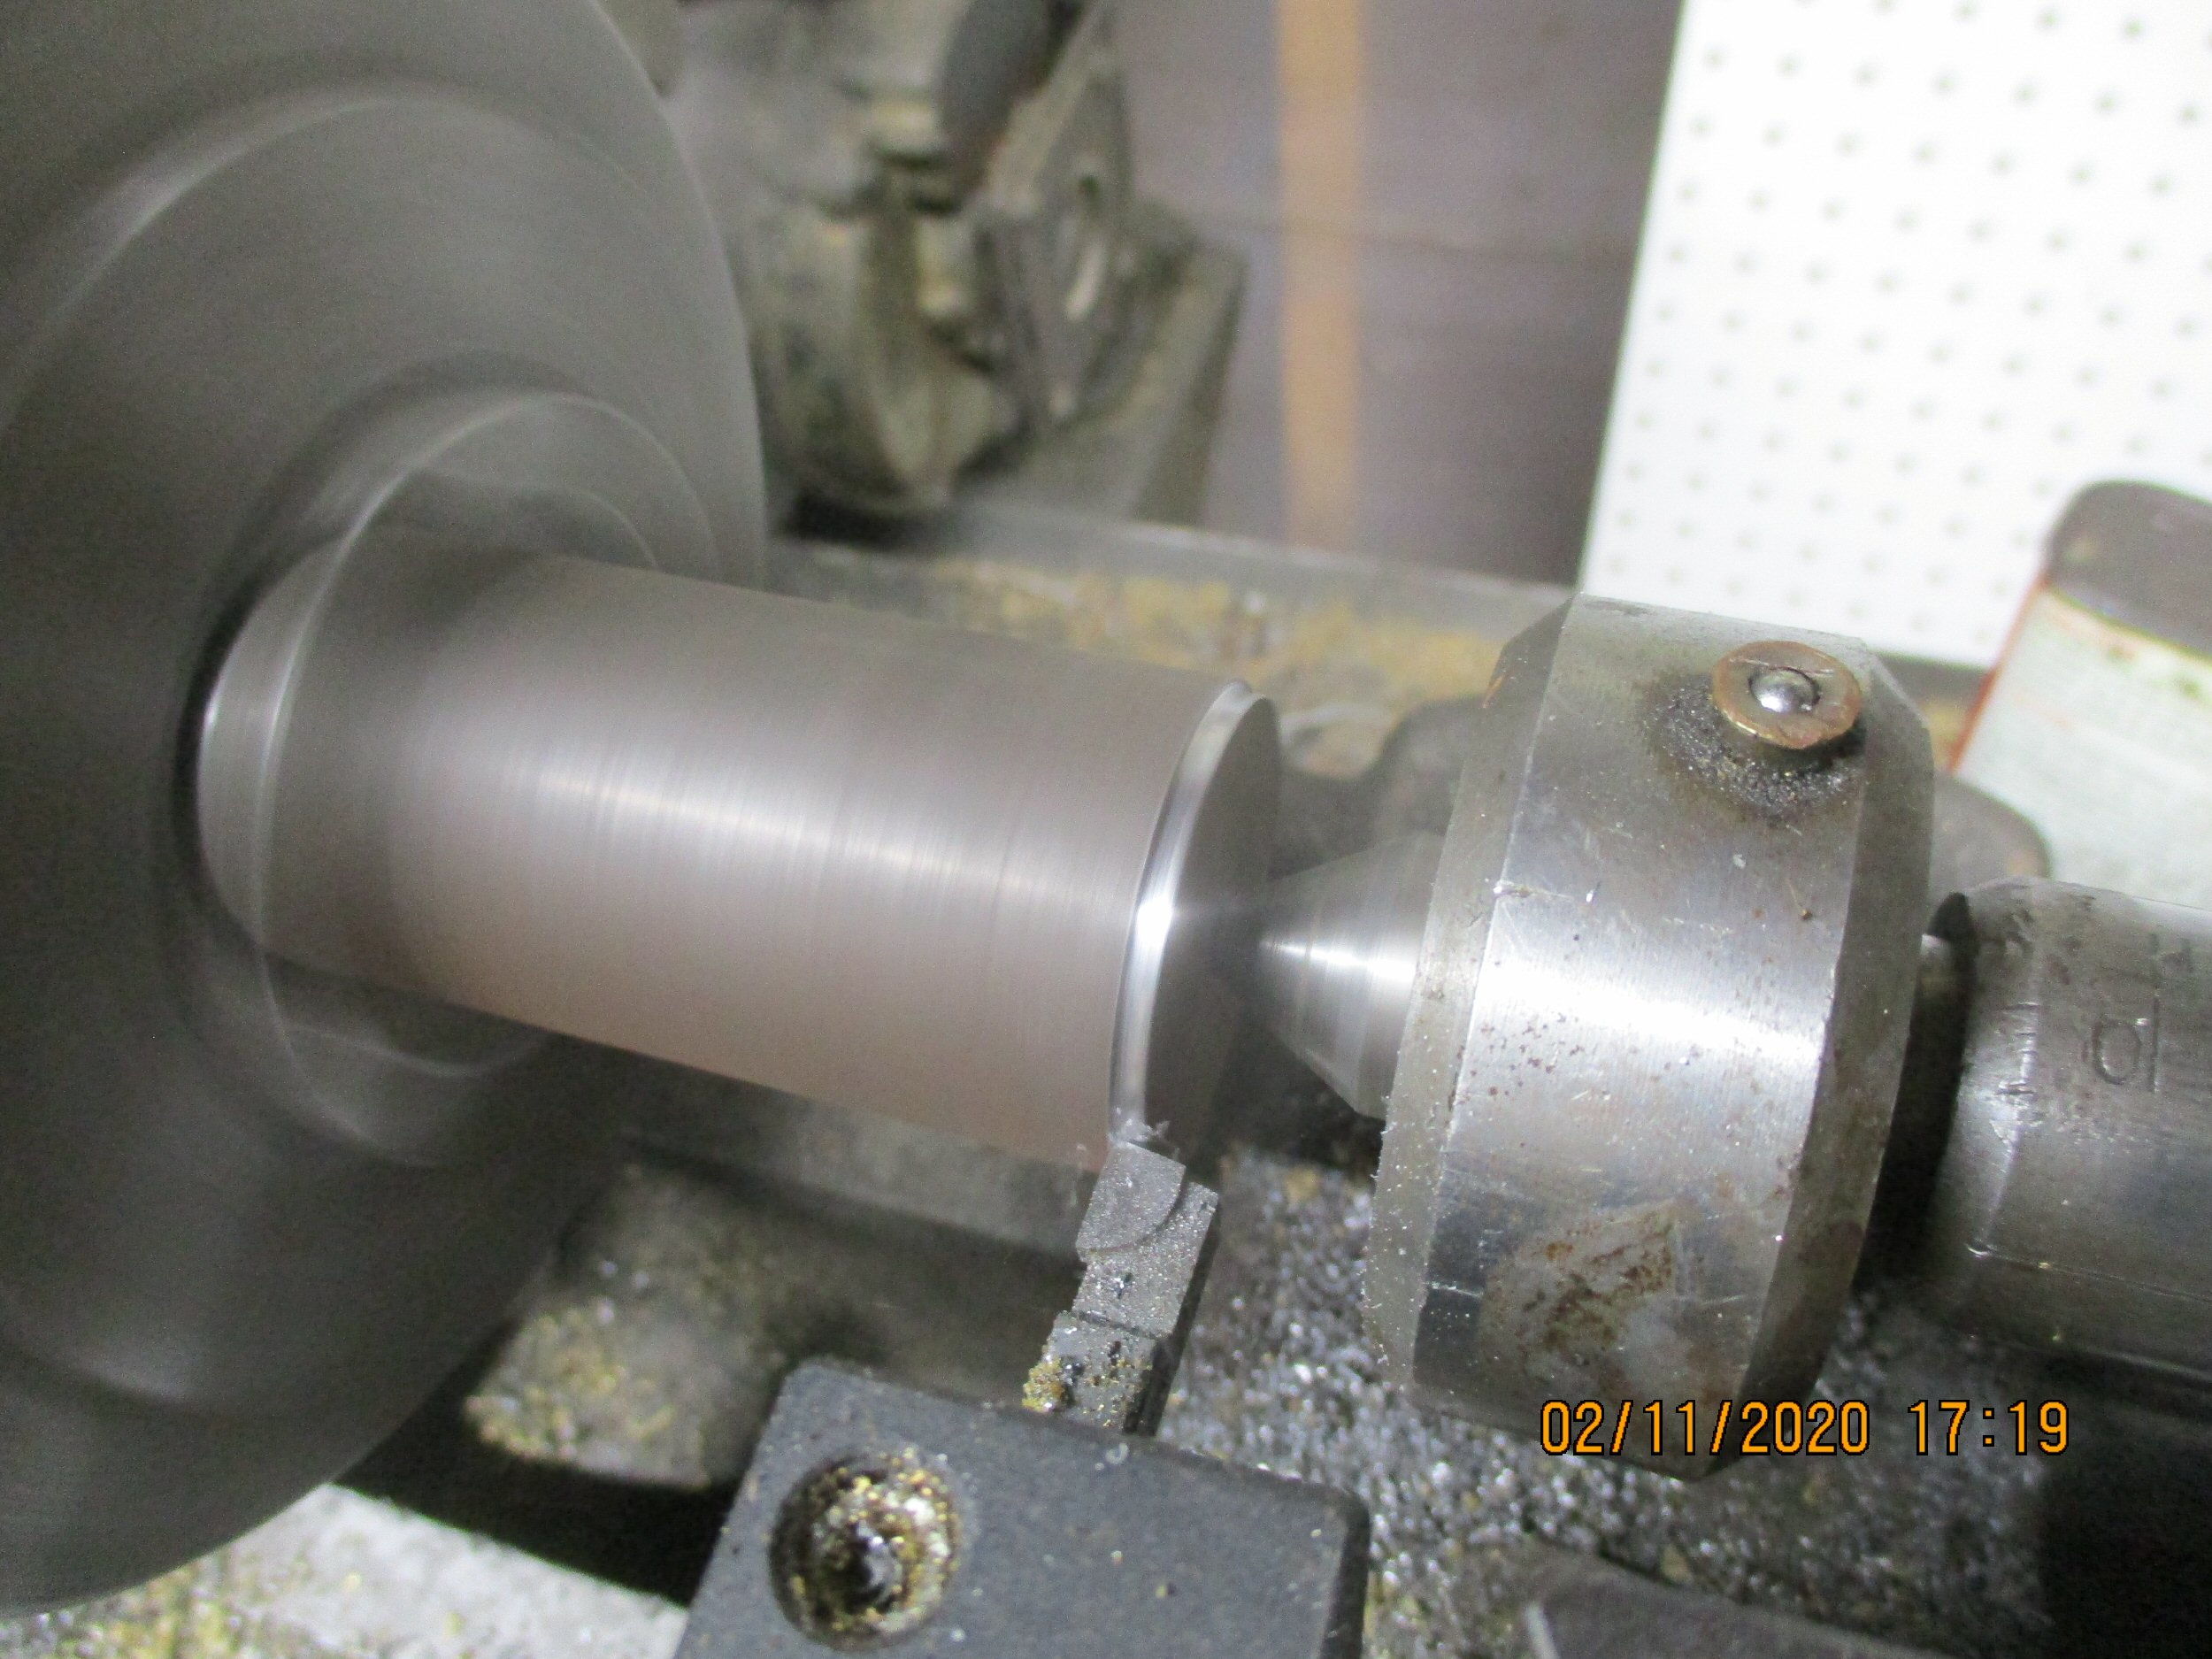
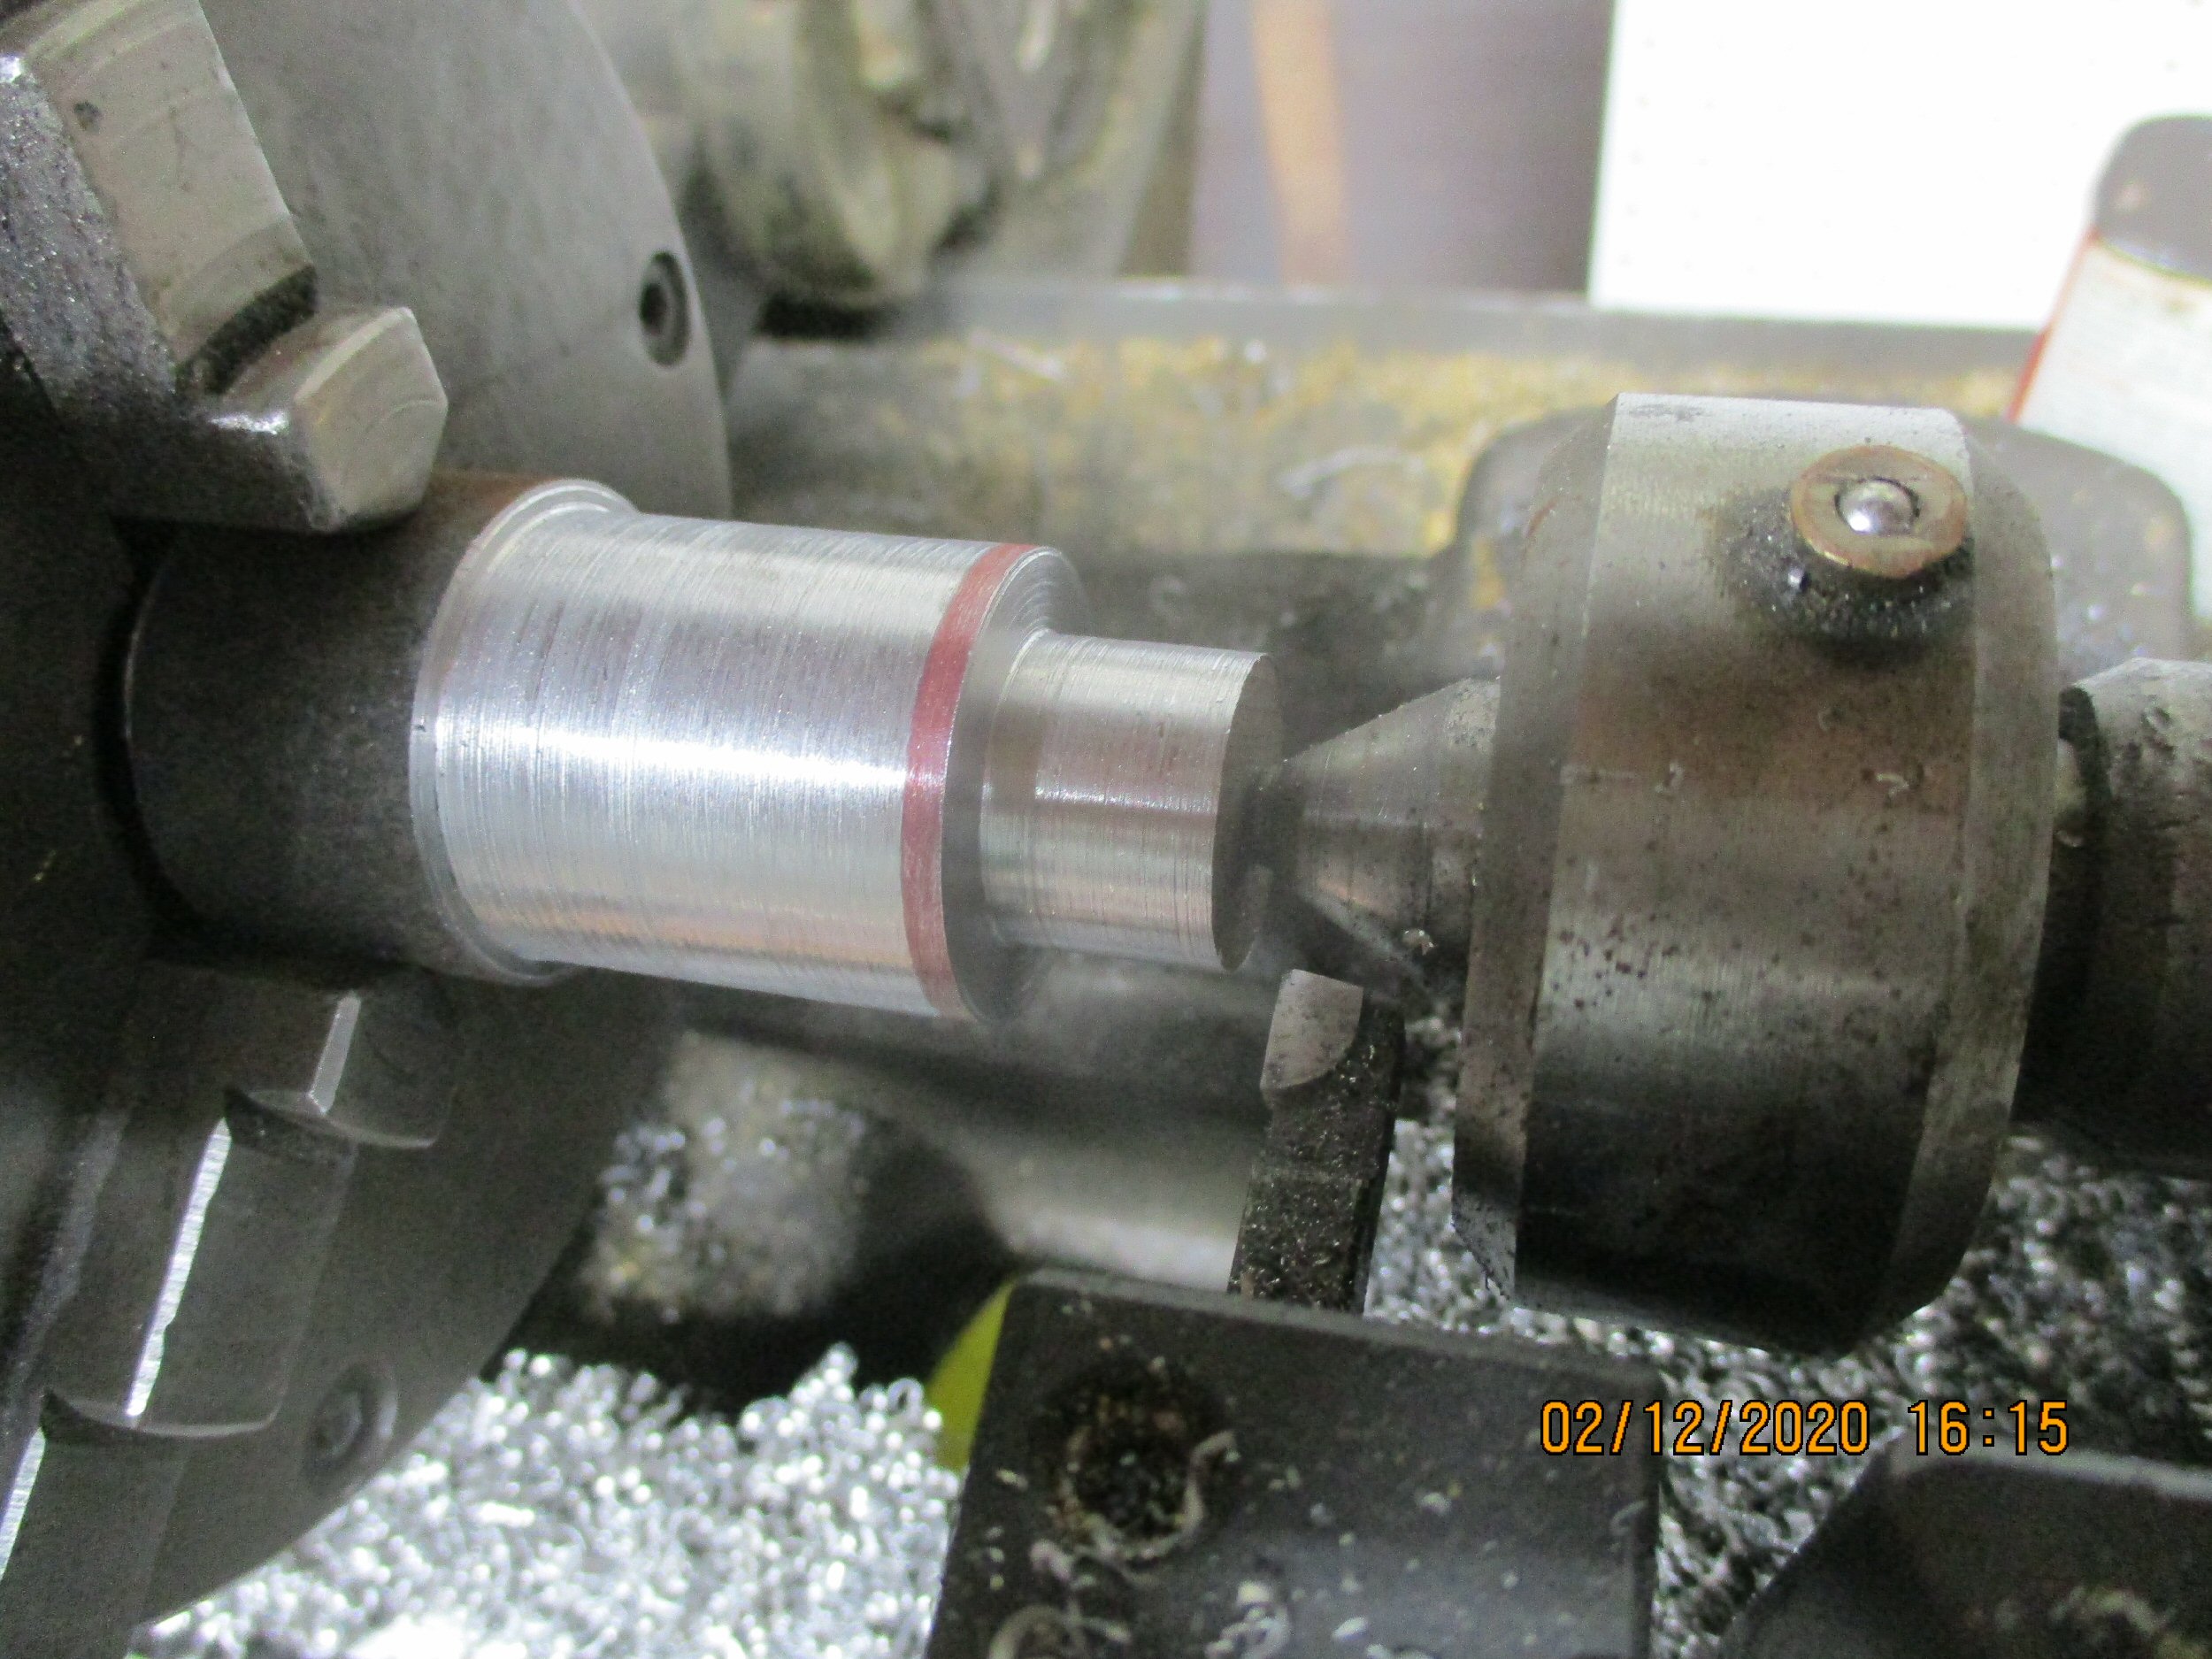
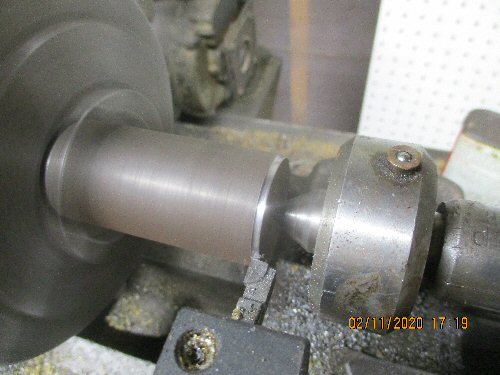
Once the steel is mounted securely in the lathe, I can start "turning" it down to shape. Cutting metal away on the sides of a cylindrical part is called "turning", while taking metal away from the ends is called "facing". In a series of cuts, metal is removed down to a dimension I had worked out on paper ahead of time.
|
|
| |
|
|
|
|
You can see two important dimenions here. One is the smaller one to the right where the threads will later be cut to form the threaded part of the breechplug. The other is on the left, which brings the piece down to the outside dimensions of the new barrel (left slightly oversized so I can polish it down as flush as possible)
|

|
| |
|
|
|
|
There is more than just turning down the metal to make it a breechplug in this instance. Because the breechplug has to be so thick, there is no way you could vent the gun unless the plug had a chamber in the middle of it. Here I am measuring how far into the face of the breechplug I'll need to drill a chamber.
|
|
| |
|
|
|
|
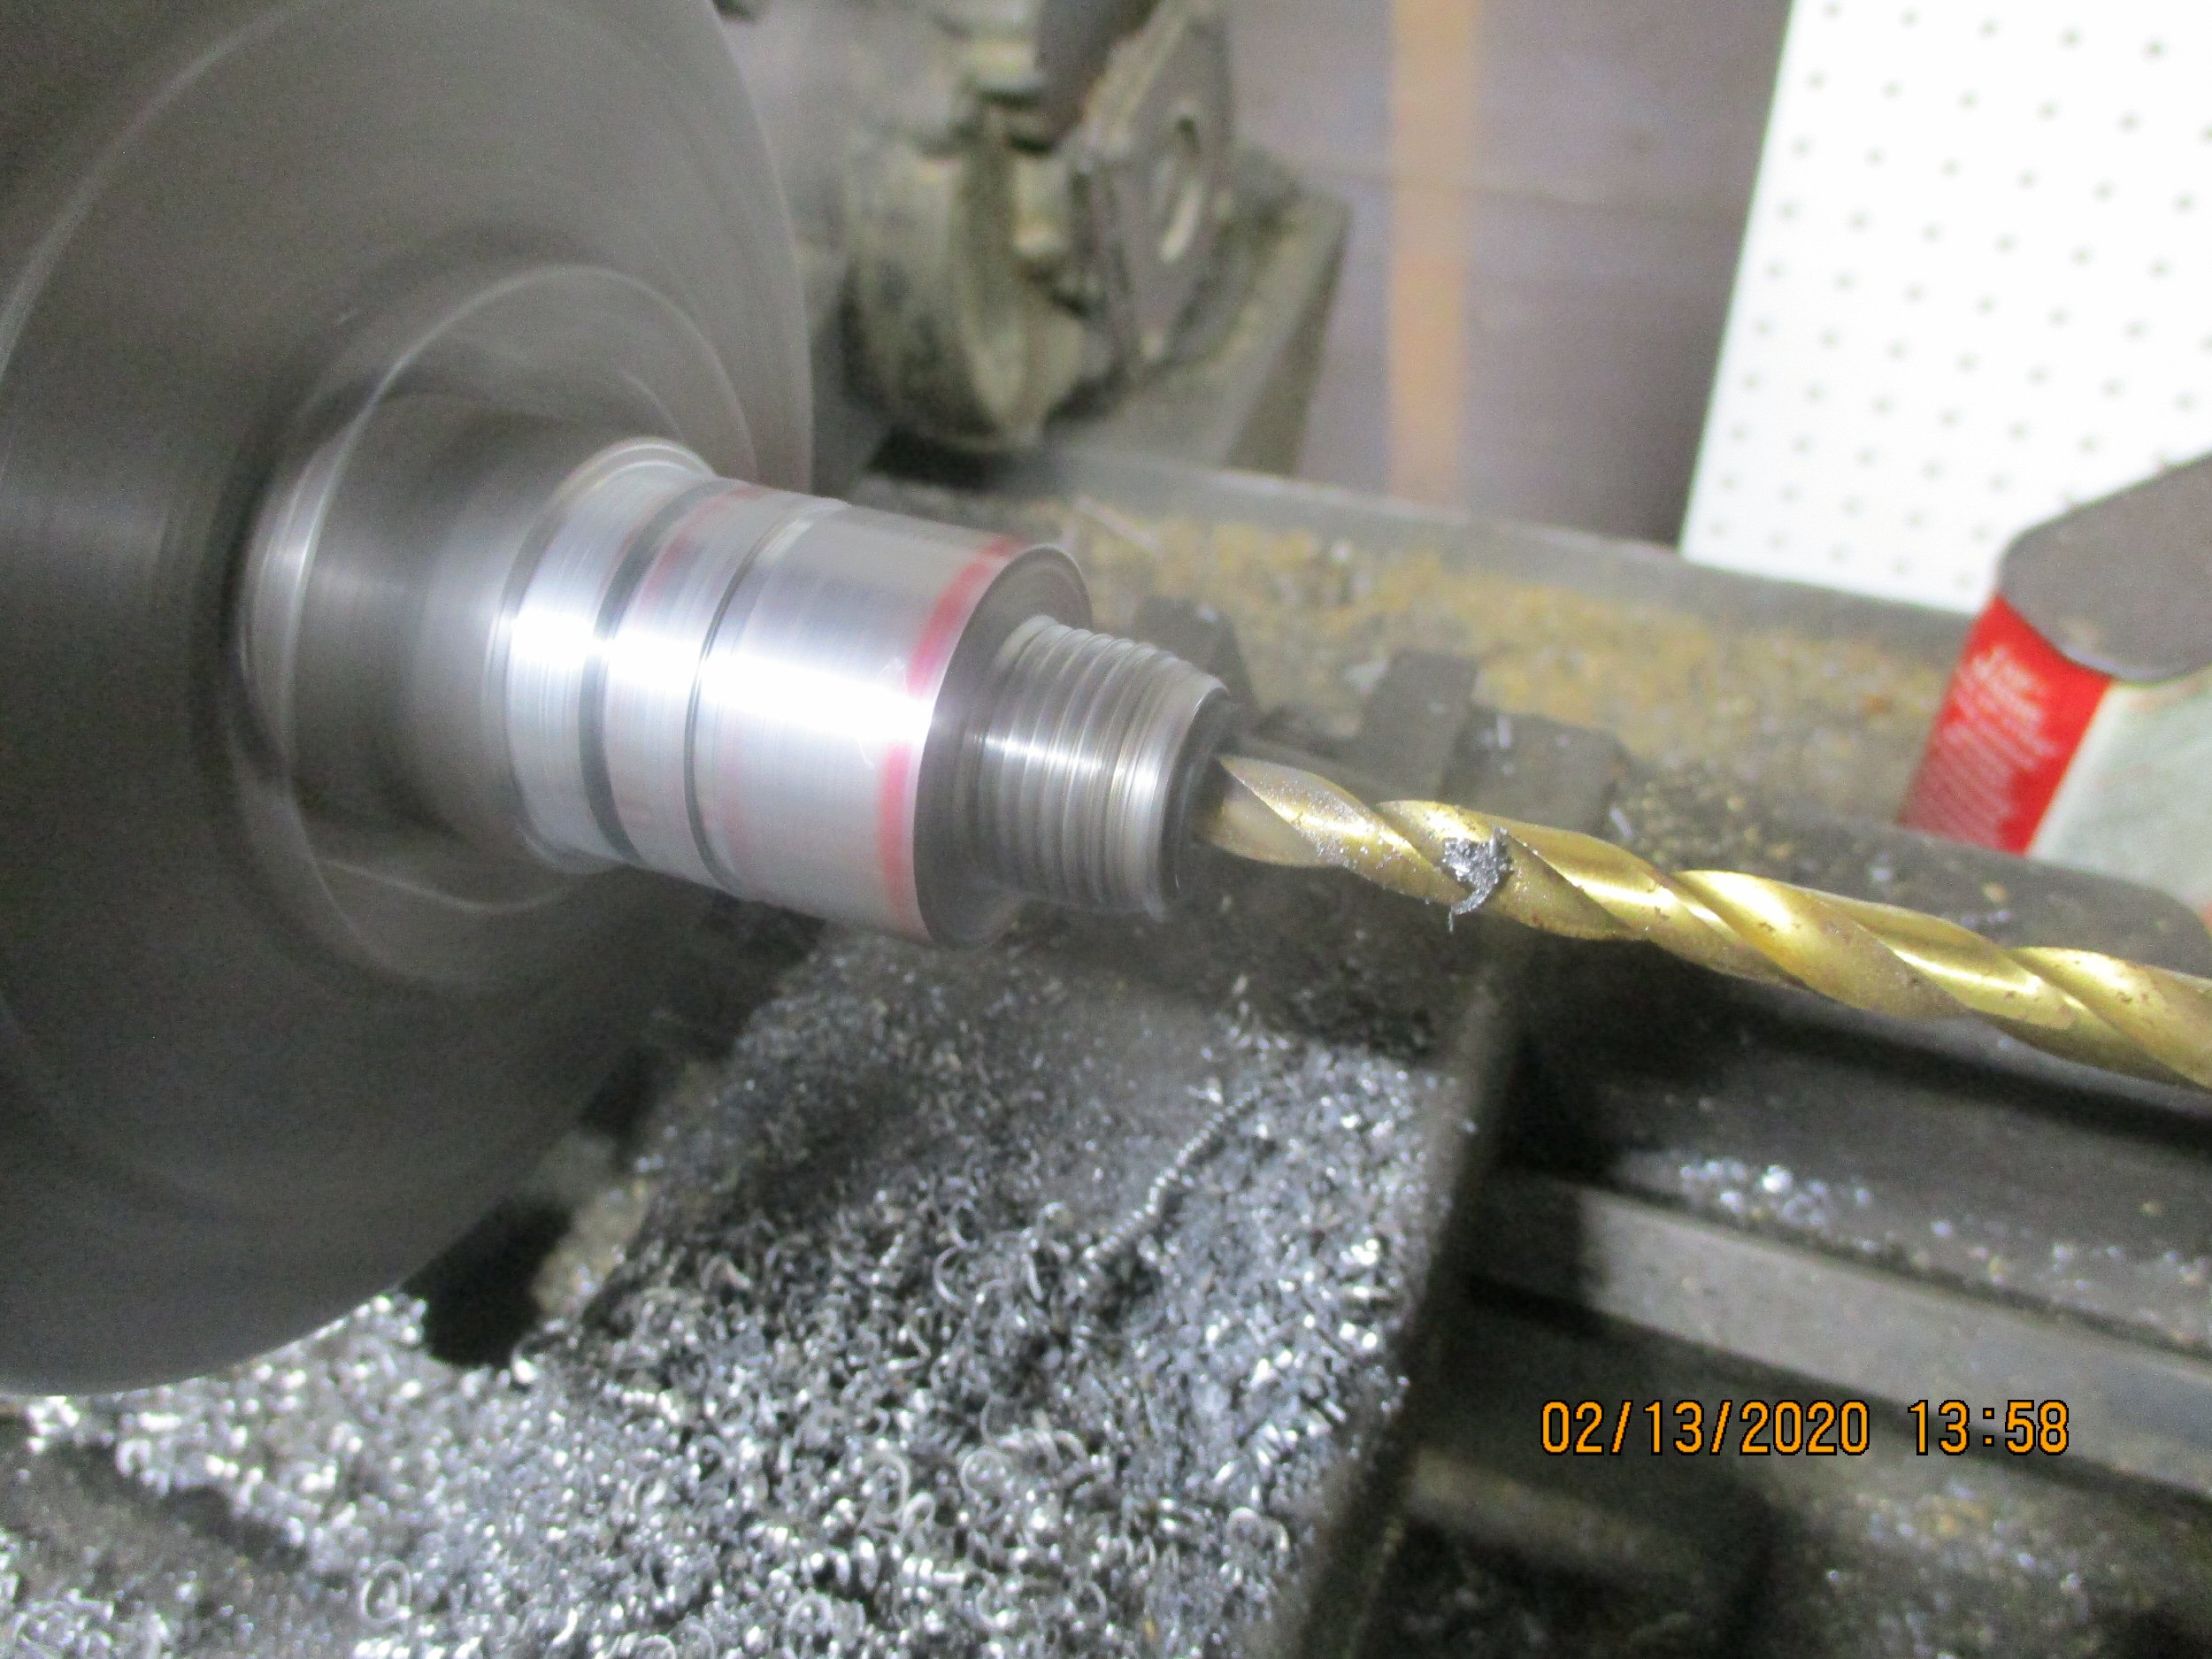
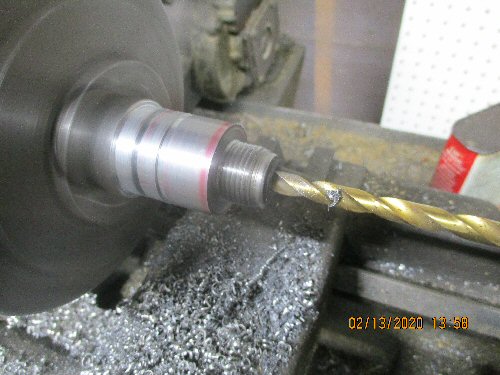
Here I've replaced the live center with a drill chuck and am creating a chamber in the breechplug with a regular twist drill
|
|
| |
|
|
|
|
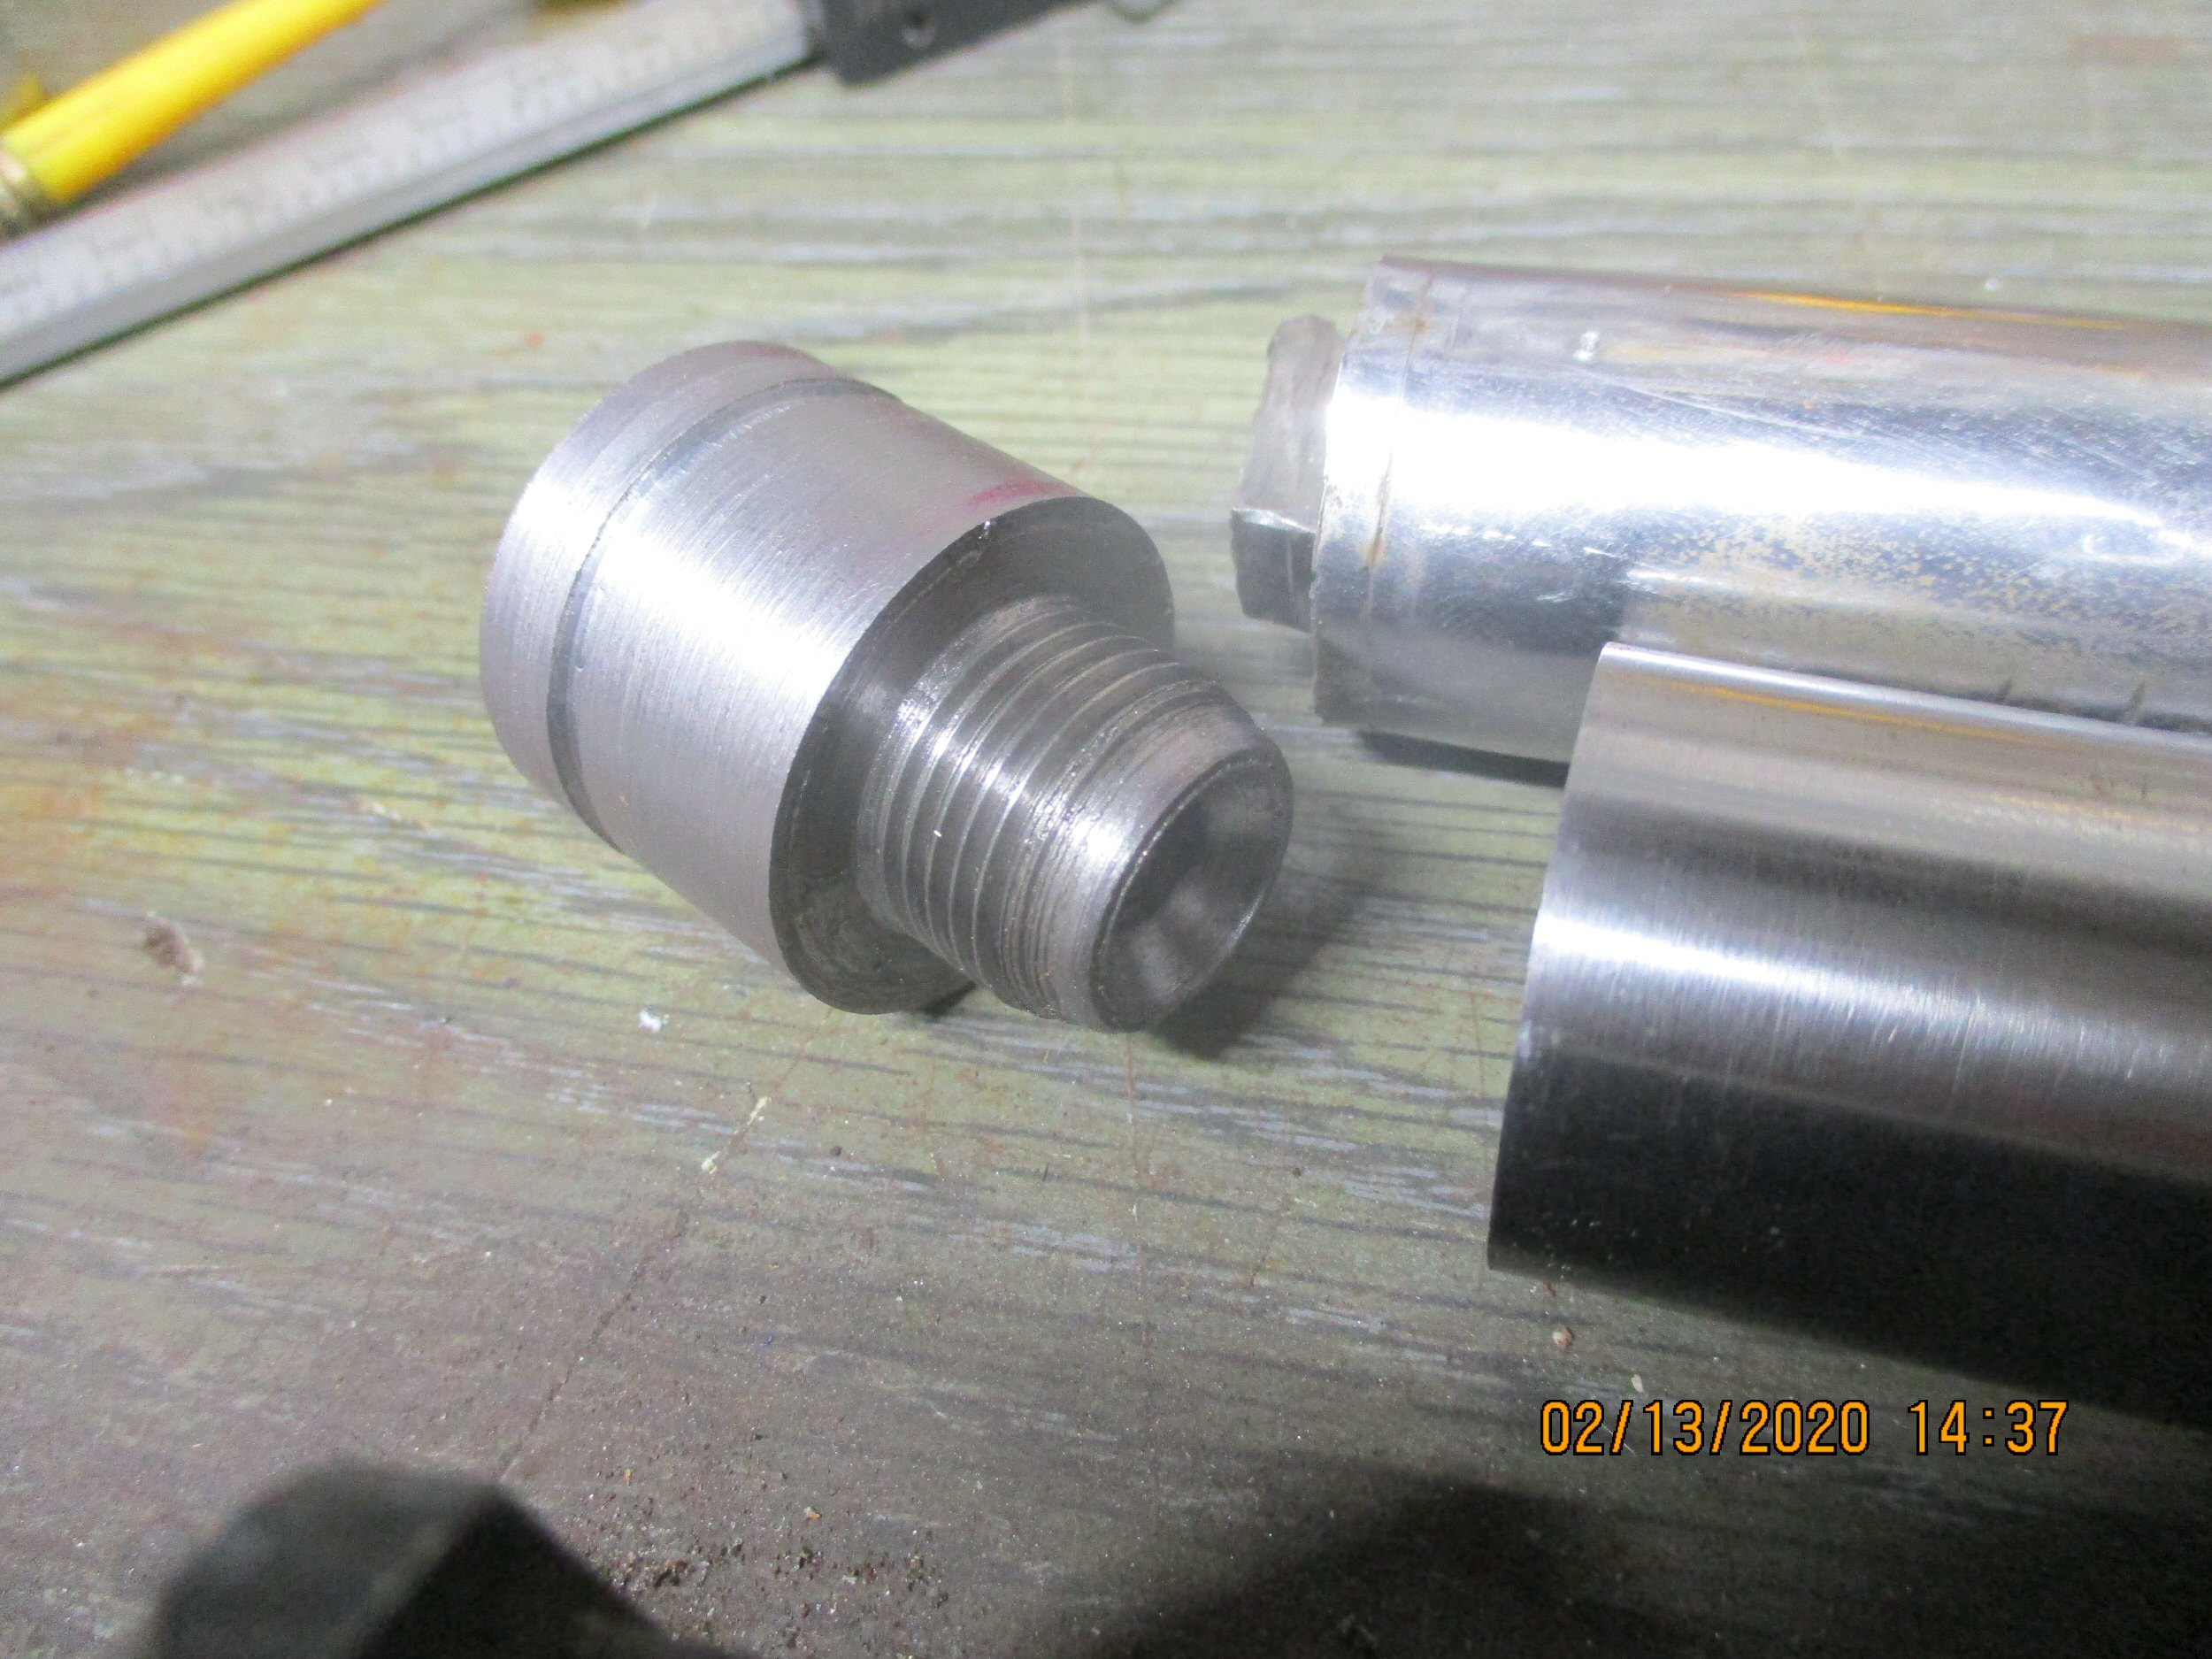
Now it is starting to look like a gun part. You can see that the "plug" portion has been threaded, the chamber has been drilled, the face of the breechplug has been coned out (I did this with a countersink) so powder will naturally want to go into the chamber without getting piled up on the face of the breechplug when Russell loads it, and the length of the plug has been marked out with a parting tool.
|

|
| |
|
|
|
|
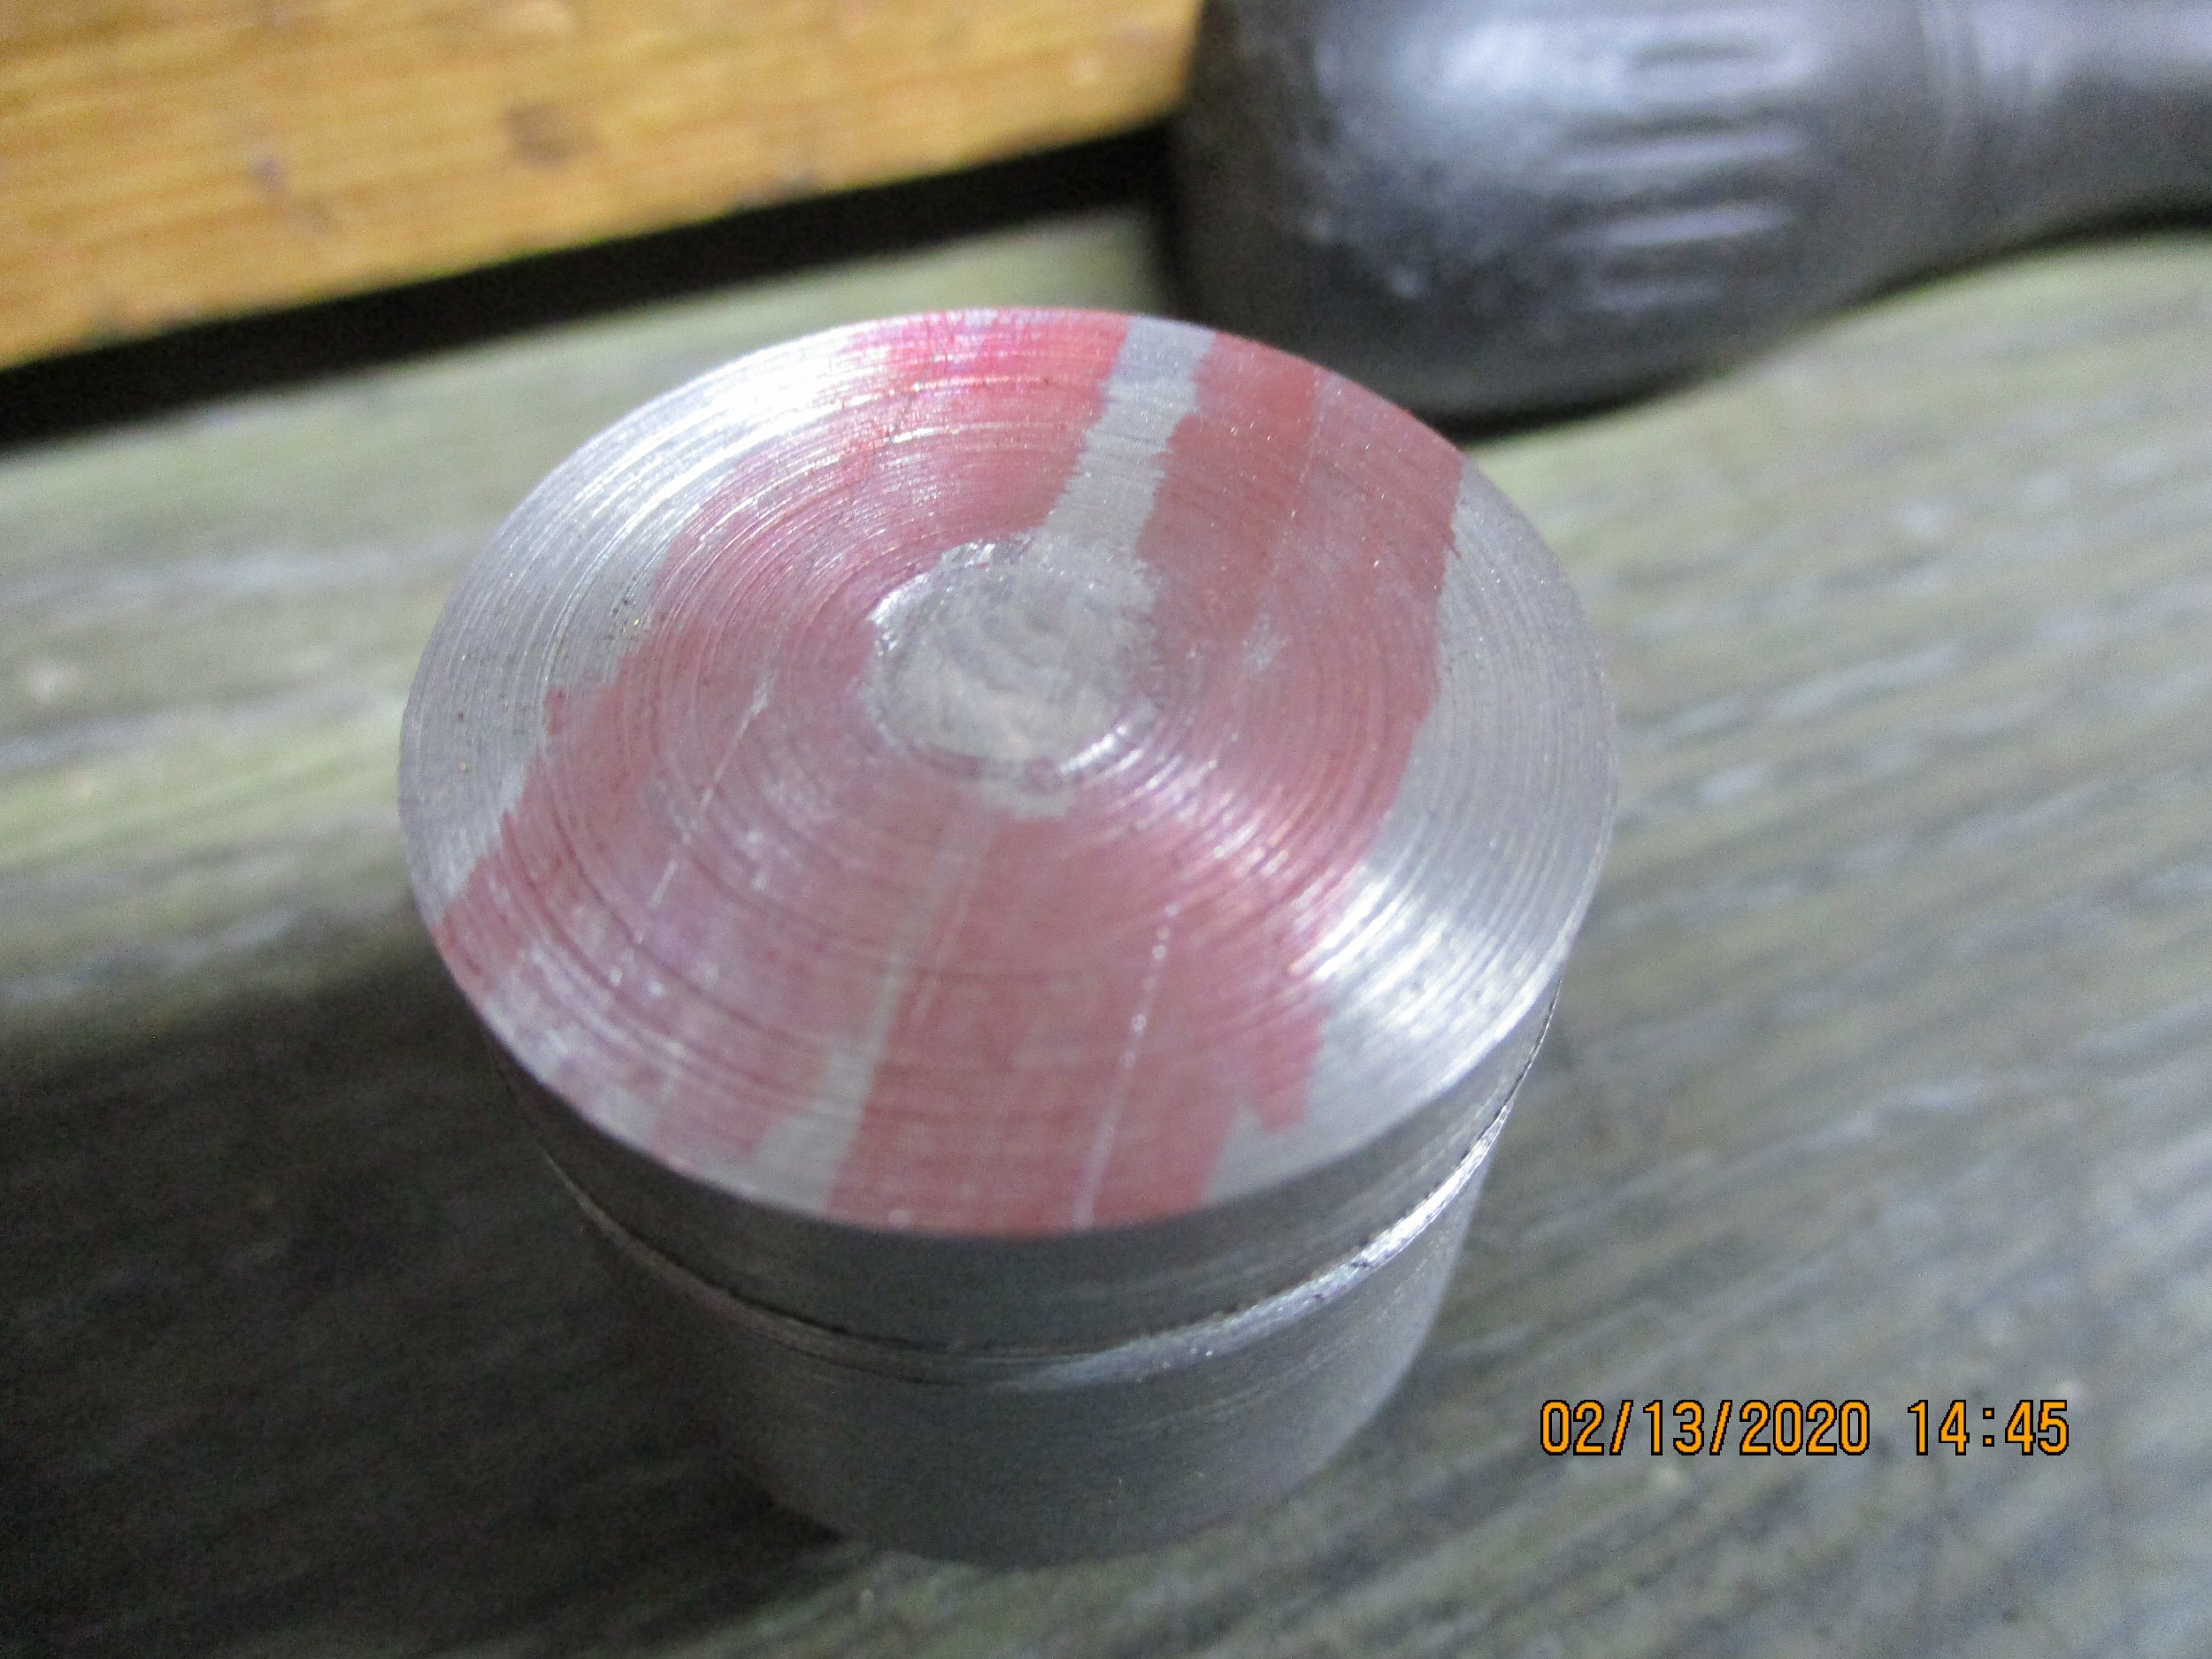
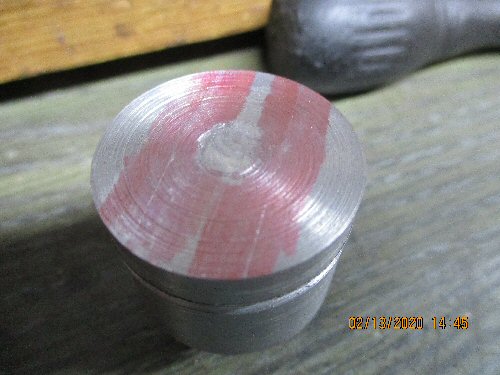
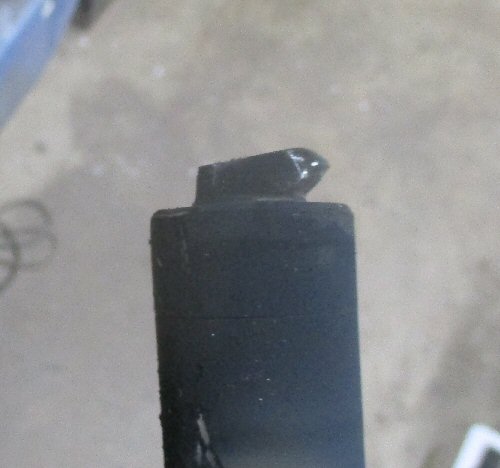
This is a view of the almost-finished breechplug from the back. I have scribed a pair of lines to show me where to start roughing in the hook for the hooked breech. The red stuff is marker that I scribbled on the steel with so my scribed lines would show up better.
Don't worry, it isn't blood...yet
|
|
| |
|
|
|
|
Using a fiber wheel in a Dremel tool, I cut away the half-moon shaped pieces from the sides of what is going to be the hook portion of the hooked breech.
To make it interesting, at one point, my hand slipped and lost it's hold on the Dremel tool. This resulted in a 3" long slash to my left index finger and when my hand quickly pulled away, the still-running Dremel tool landed in my lap, deeply gashing my right thigh and slashing through a pair of BDU pants like they weren't there. Blood was everywhere, but I got it cleaned up and burned the bloody paper towel evidence before the girls got home from wherever they had been. We ended up going to town for me to get my leg stitched up. It was kind of gruesome LOL!
|
|
| |
|
|
|
|
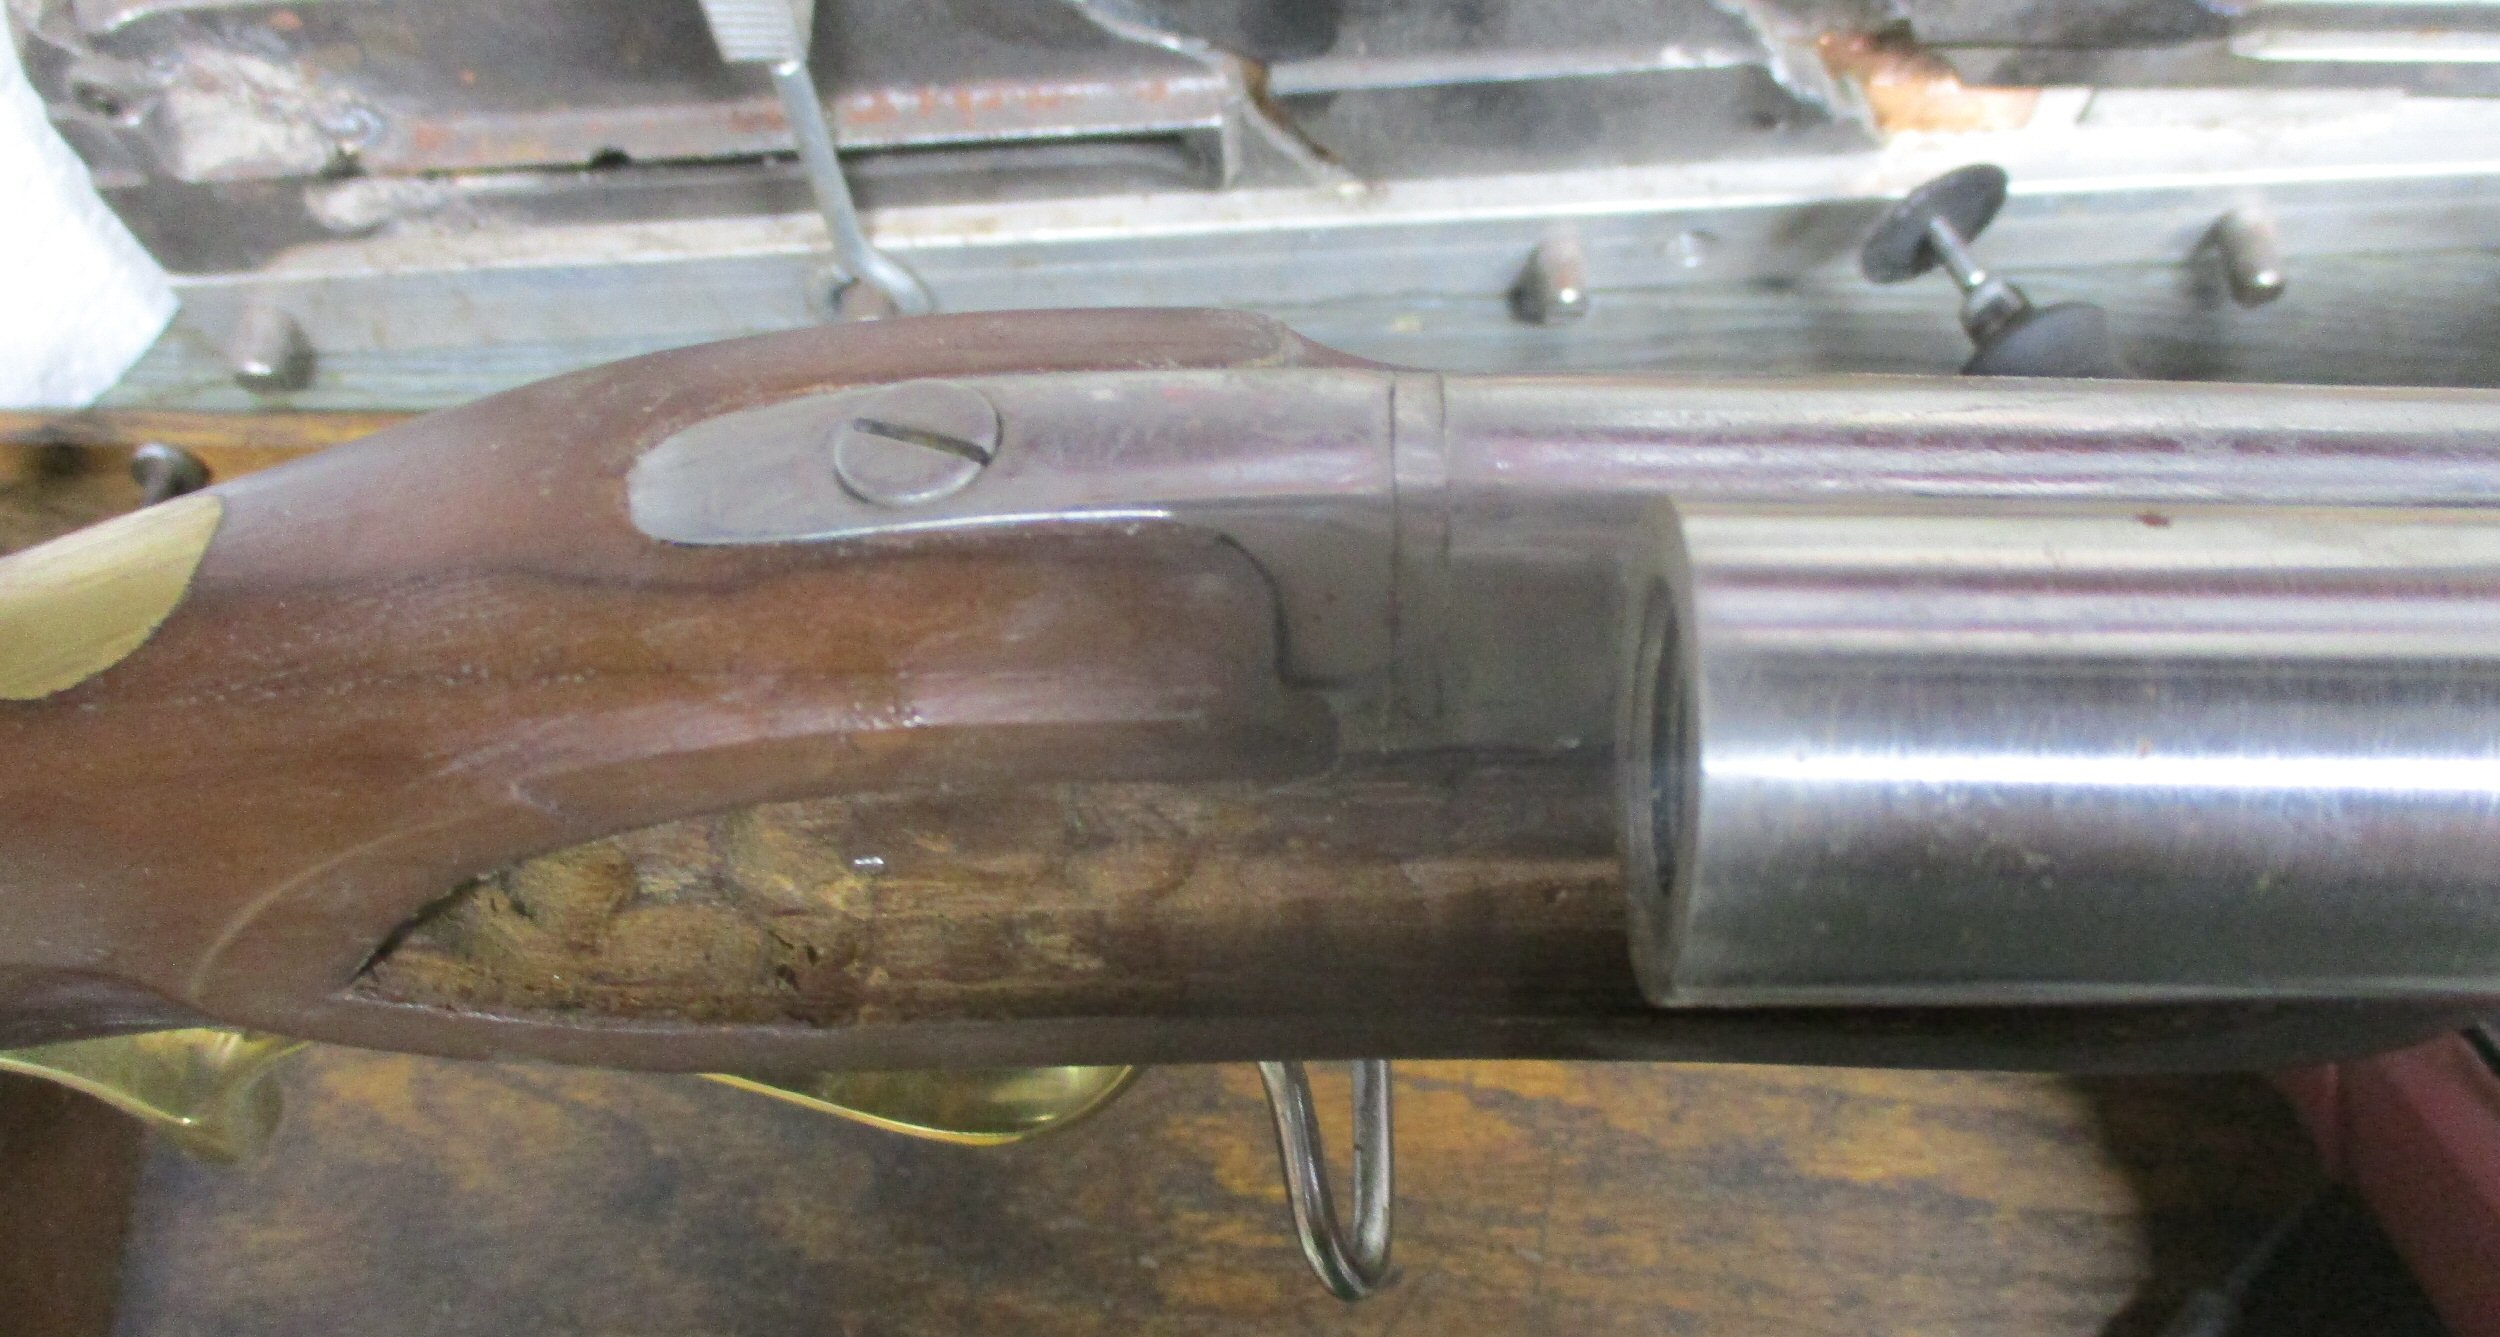
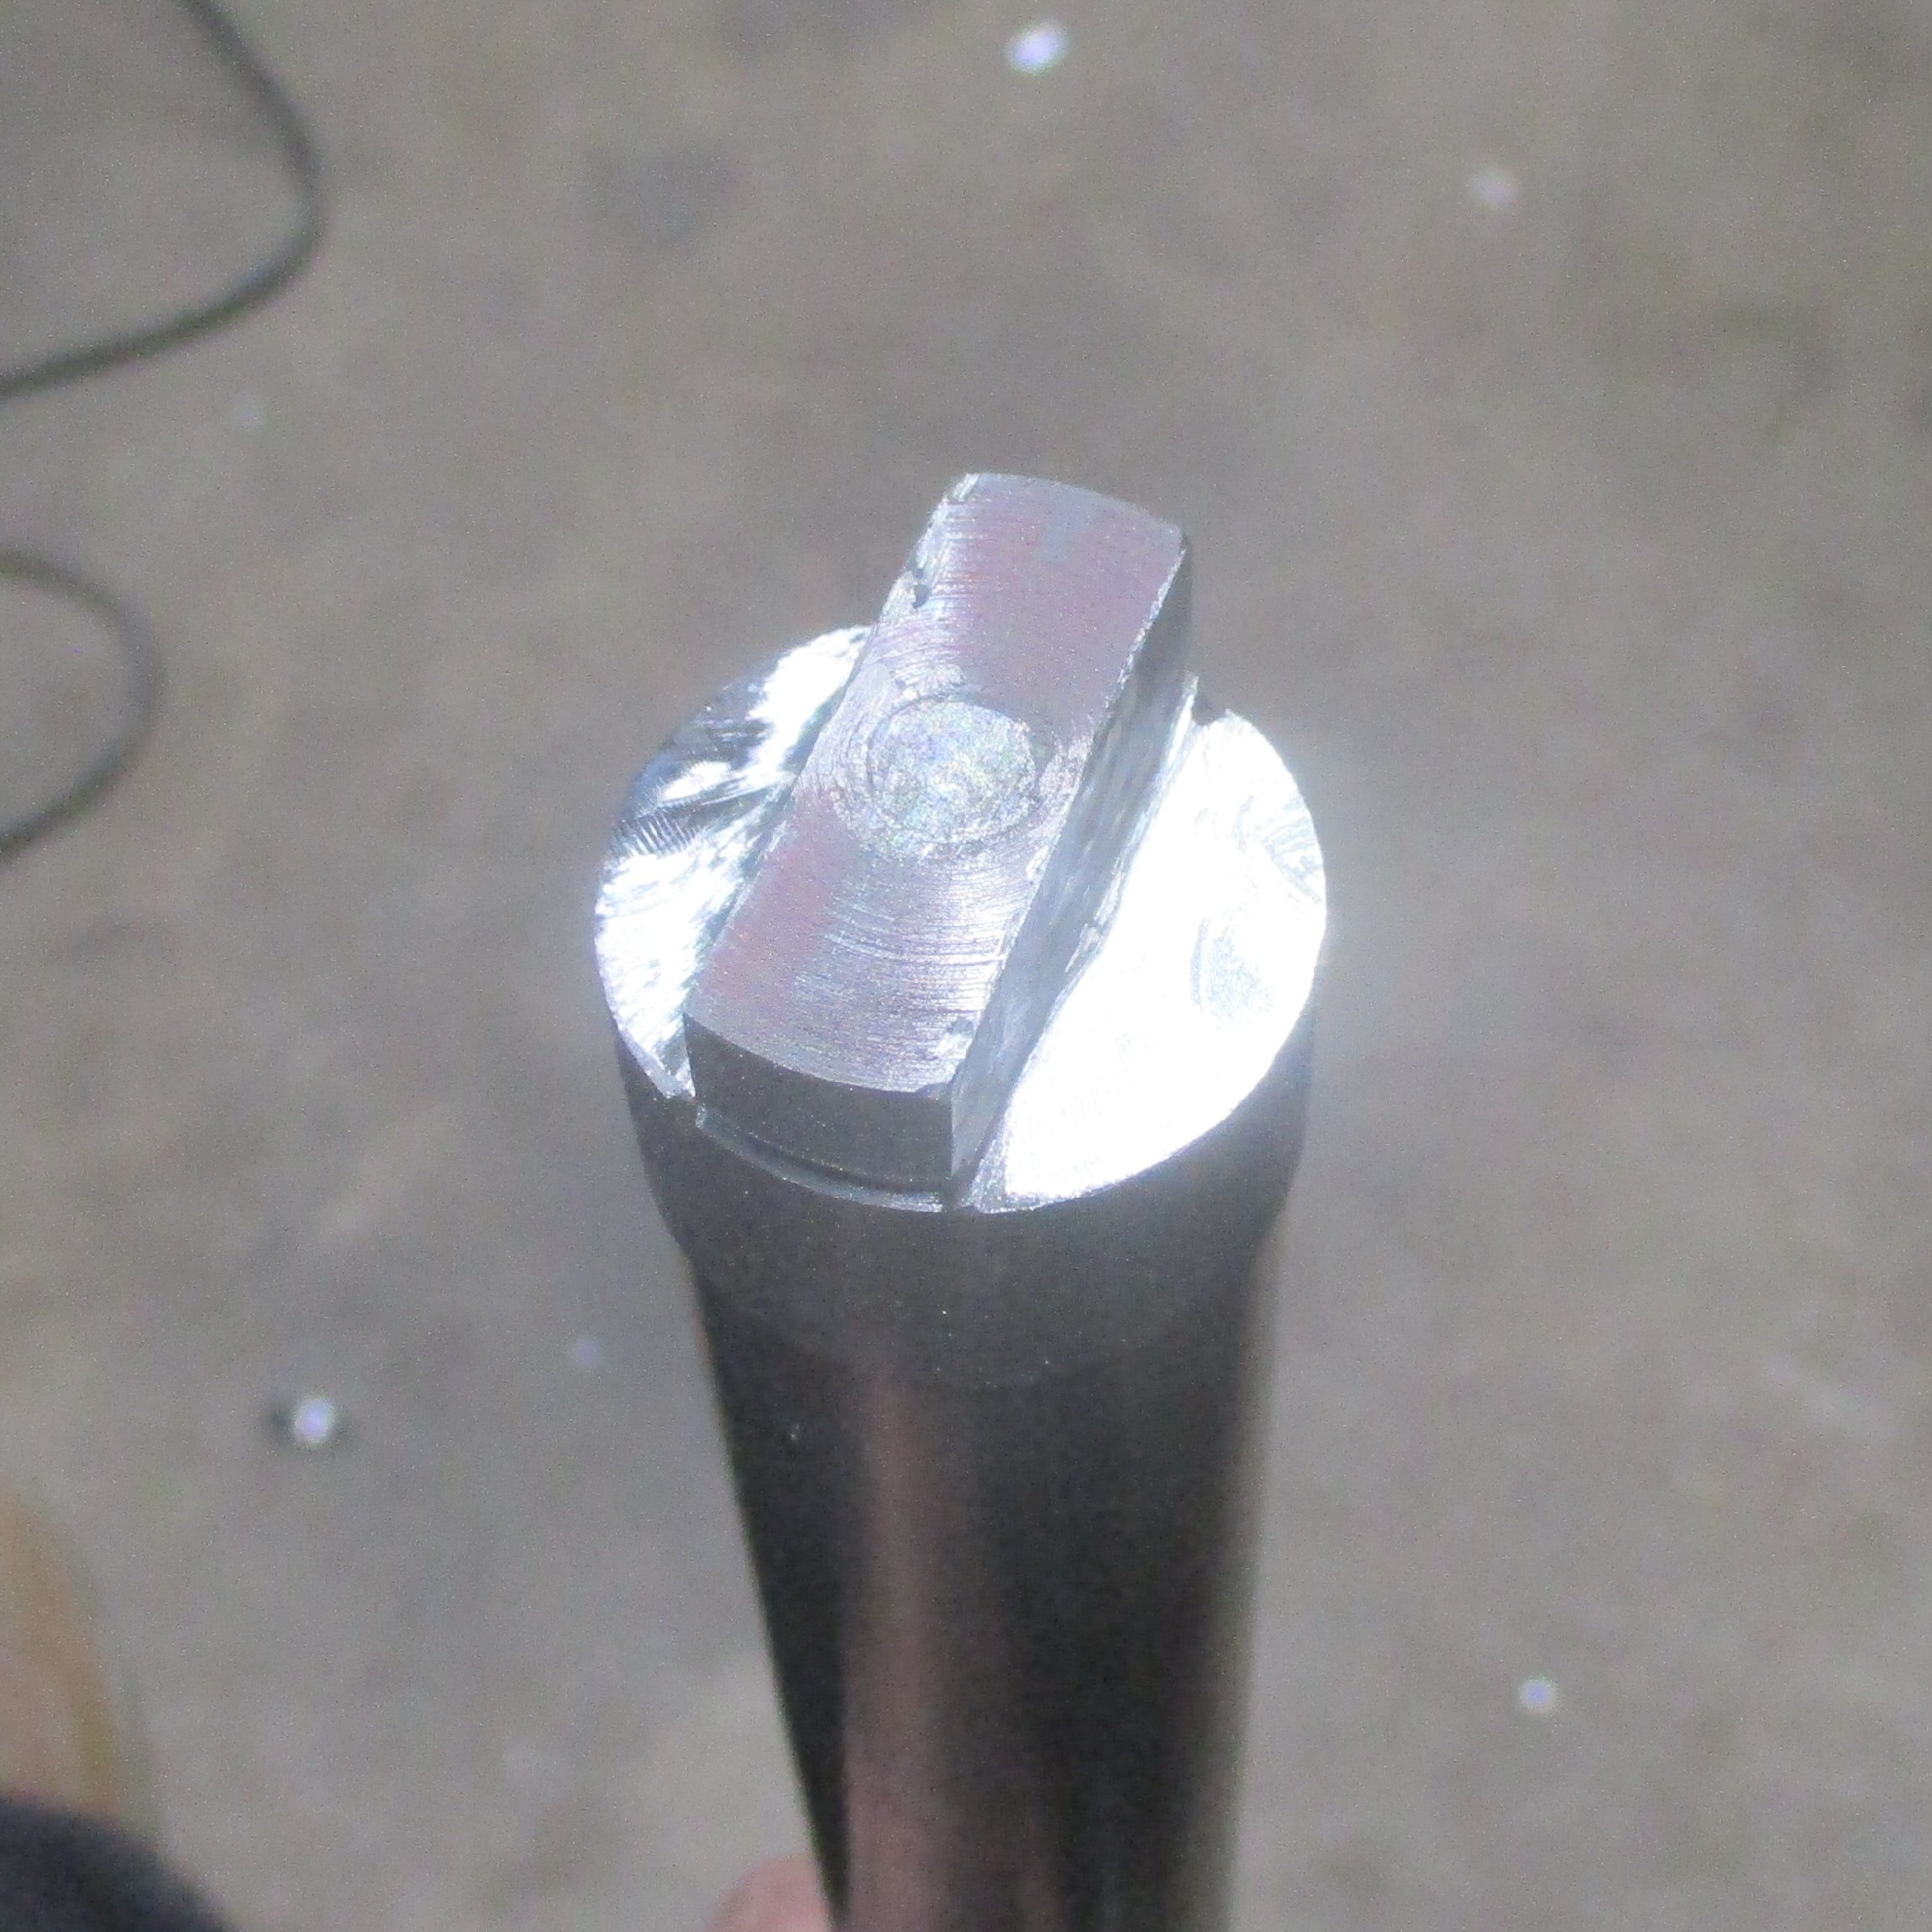
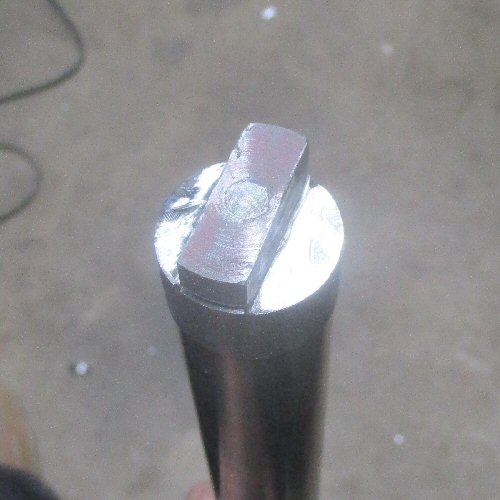
With all of the excitement of slashing my leg open, I forgot to get a photo of the finished breechplug installed on the barrel so I went and snapped this one just now. As you can see the raised section on the back of the breechplug has been shaped into a hook that engages the hole in the tang.
Don't be alarmed by the black soot that is all over it. This is part of the process of inletting the barrel into the stock and we'll go over that process in the next installement.
|
|
Stay tuned for more as this project progresses!
(posted 2-18-2020)
In the next installment, we'll inlet the fatter barrel into the stock, salvage the sights etc off of the factory barrel and install them.
|